 NEWS 180614 about AndEX Oreo 8.1
My first build of AndEX Oreo 8.1 is from 180103. My second build is from 180202. My new build of Android x86_64 – andex_x86_64-oreo-8.1-gapps-windows-launchers-1050mb-180614.iso can be installed (manually) to hard drive or on a USB stick. You can also run the system live. I.e. from a DVD or a USB stick. On some computers you’ll have to start up AndEX 8.1 in compatibility mode (VESA) though. NOTE: You can run AndEX Oreo Build 180614 on newer laptops and Desktop computers. The sound and the video performance is generally very very good.
MOST IMPORTANT CHANGES IN BUILD 180614
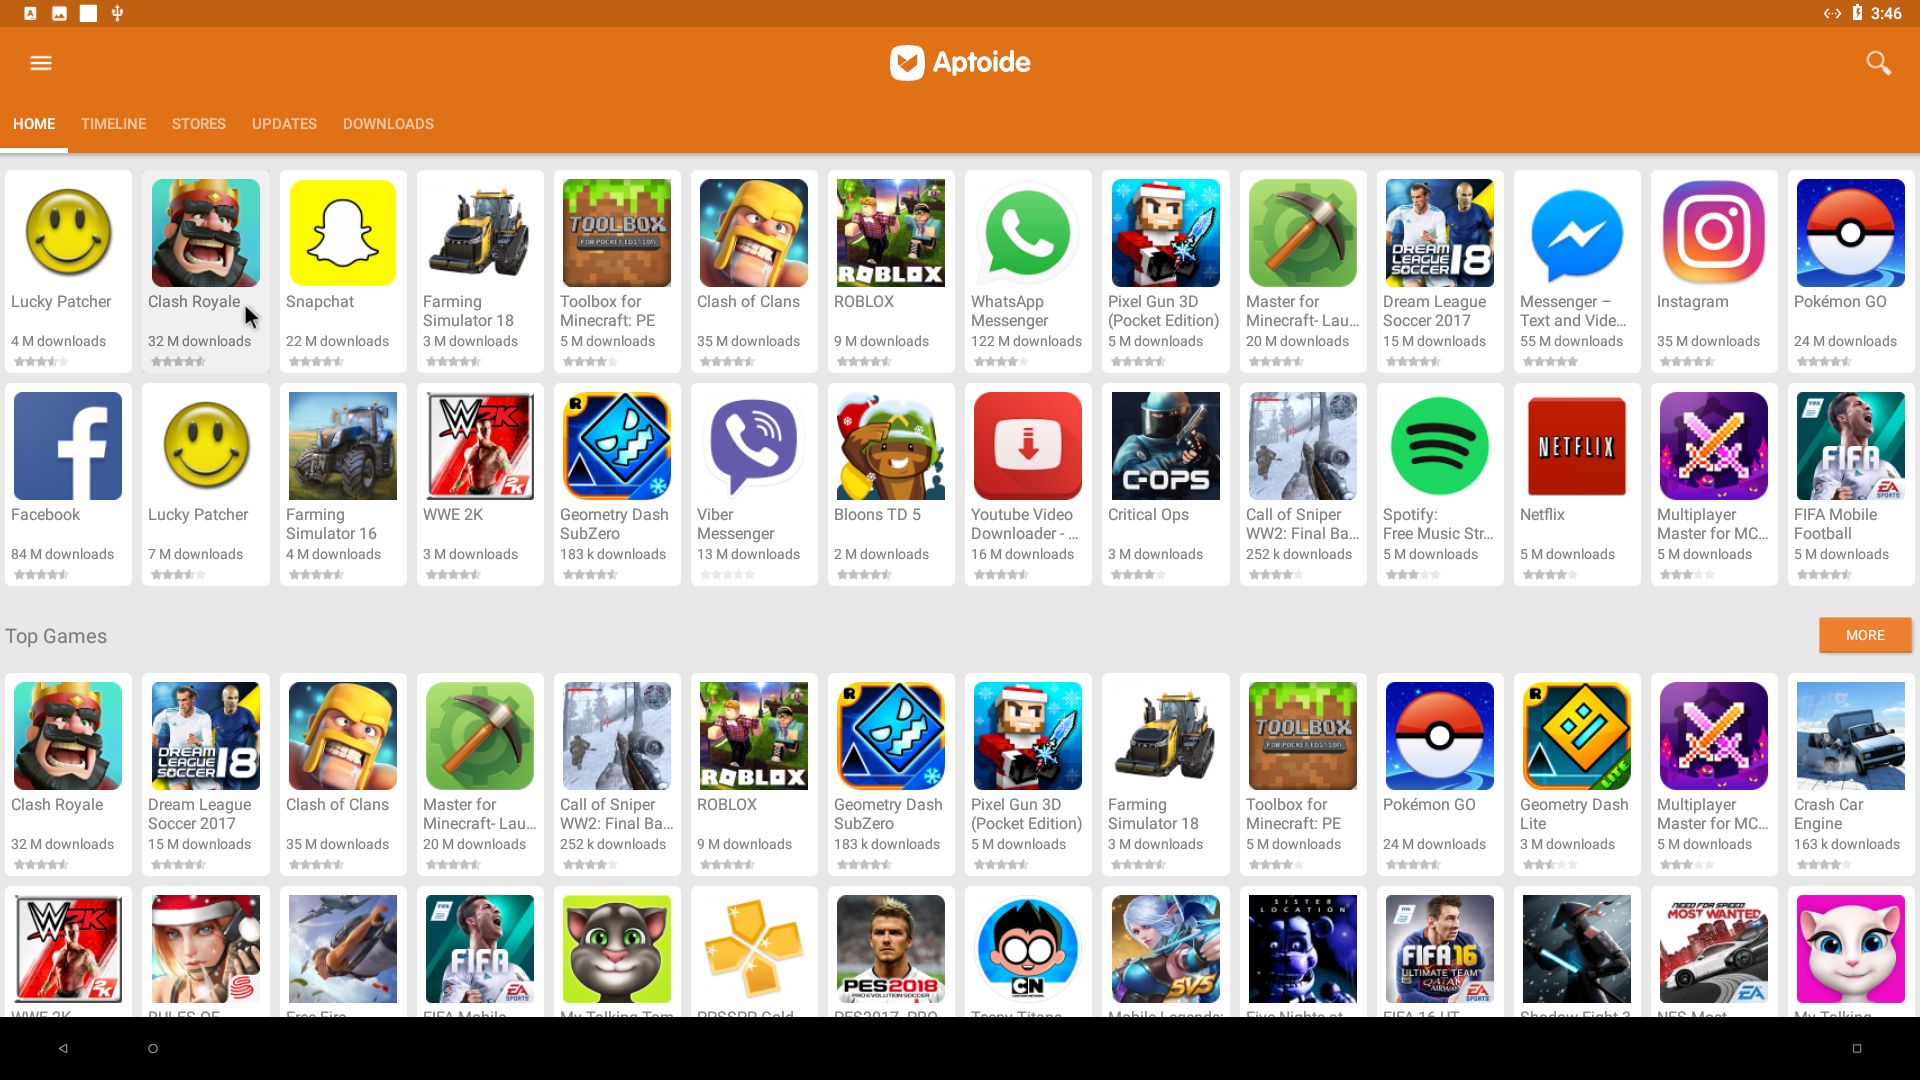
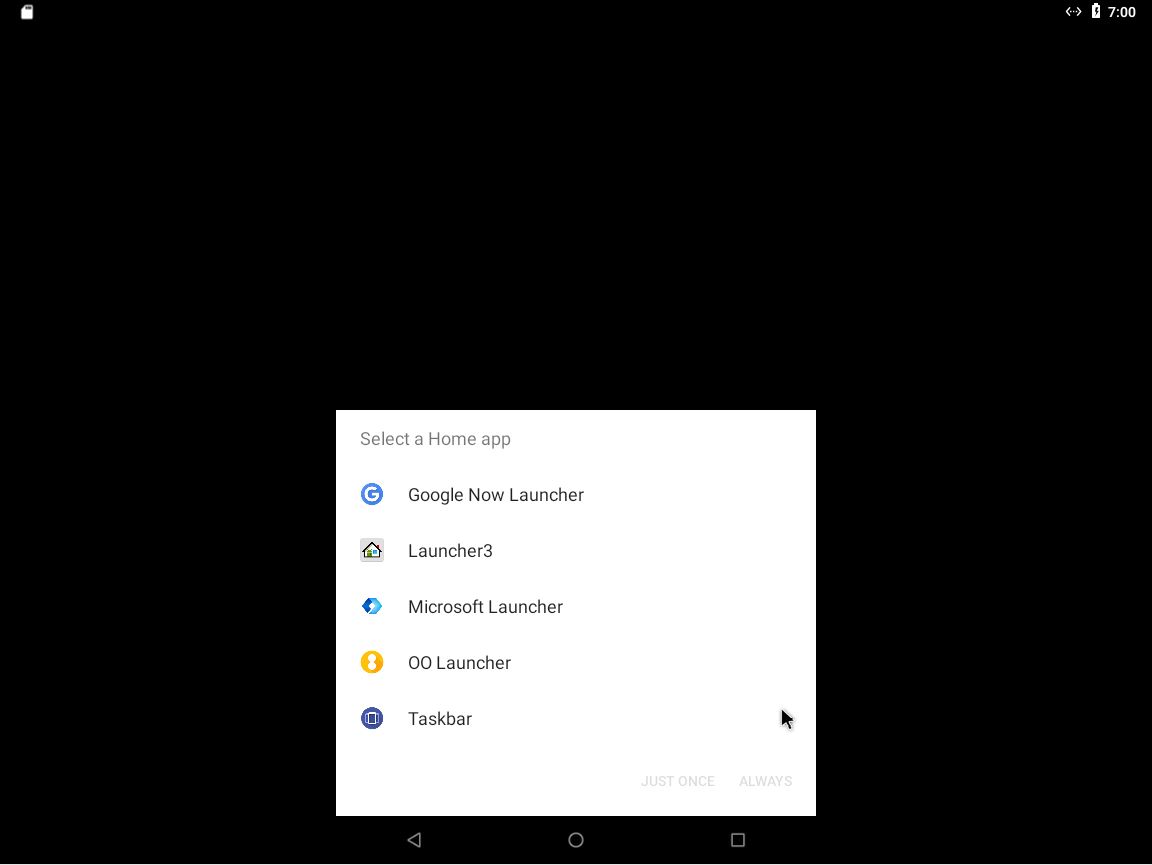
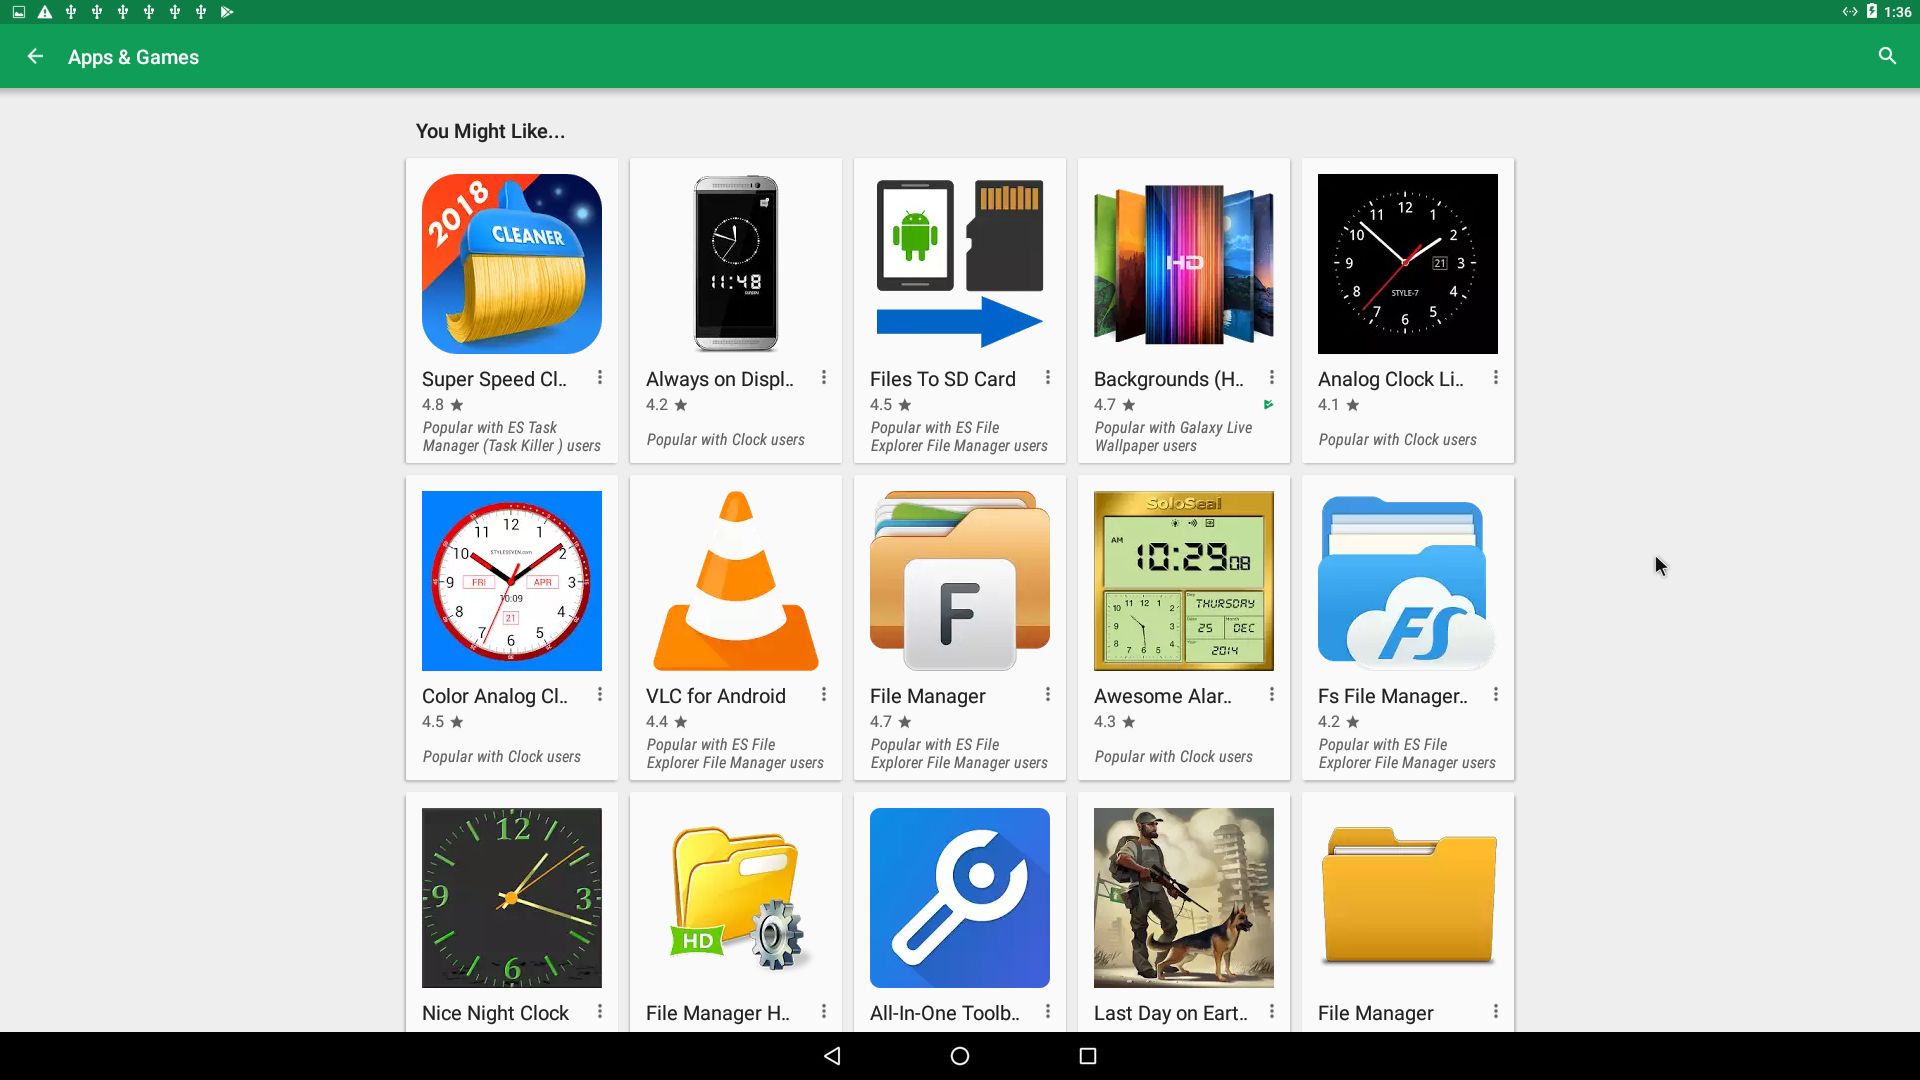
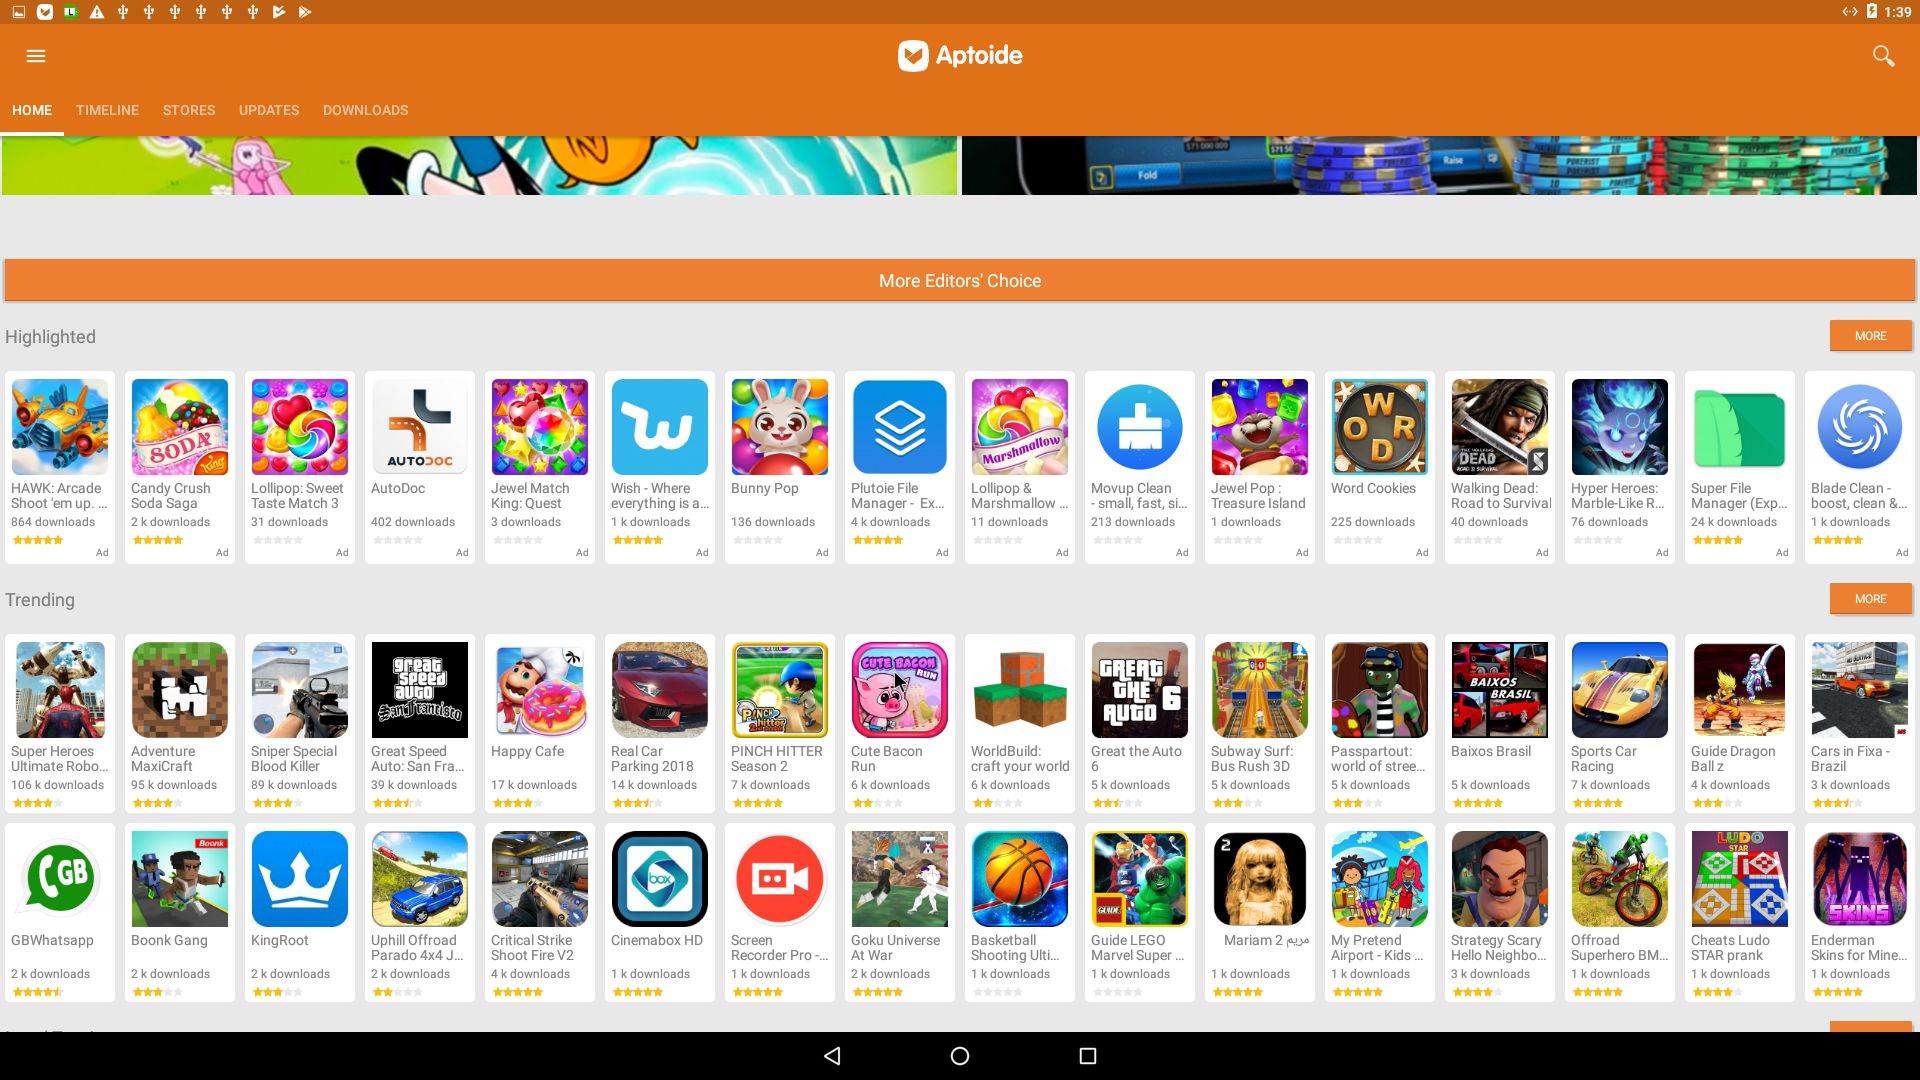
Google Play Store now works as intended. As an alternative you can use Aptoide App Manager. Aptoide is not pre-installed, but you can very easy install it. Two nice special window launchers are pre-installed: Microsoft Launcher and OO Launcher. (OO Launcher is an enhanced Android™ O Oreo™ style launcher, with many useful enhanced launcher features). I’ve discovered a new way to manually install AndEX Oreo to hard drive. Very simple! Read more below. You can now open up a terminal and become root with the command su root (which you couldn’t in previous versions of AndEX Oreo). Build 180614 uses kernel 4.9.95 with more support for various hardware.
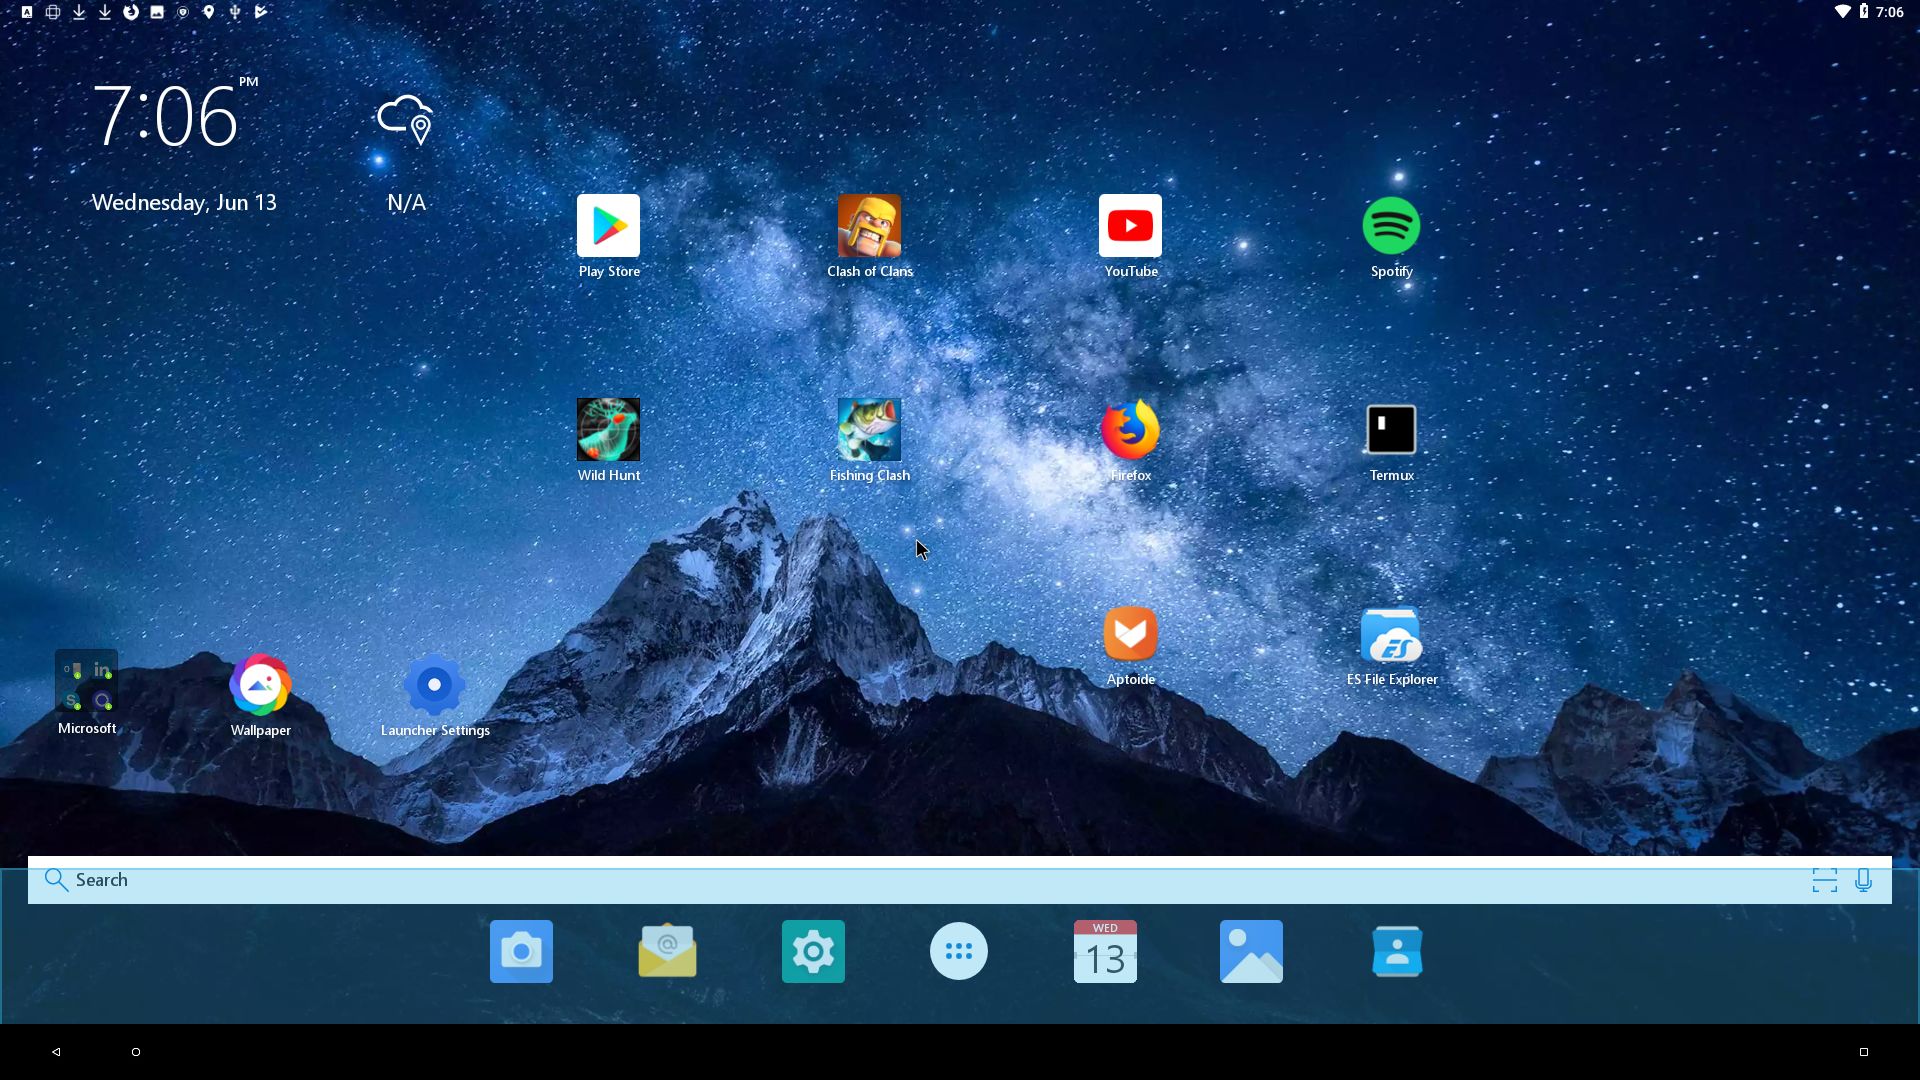
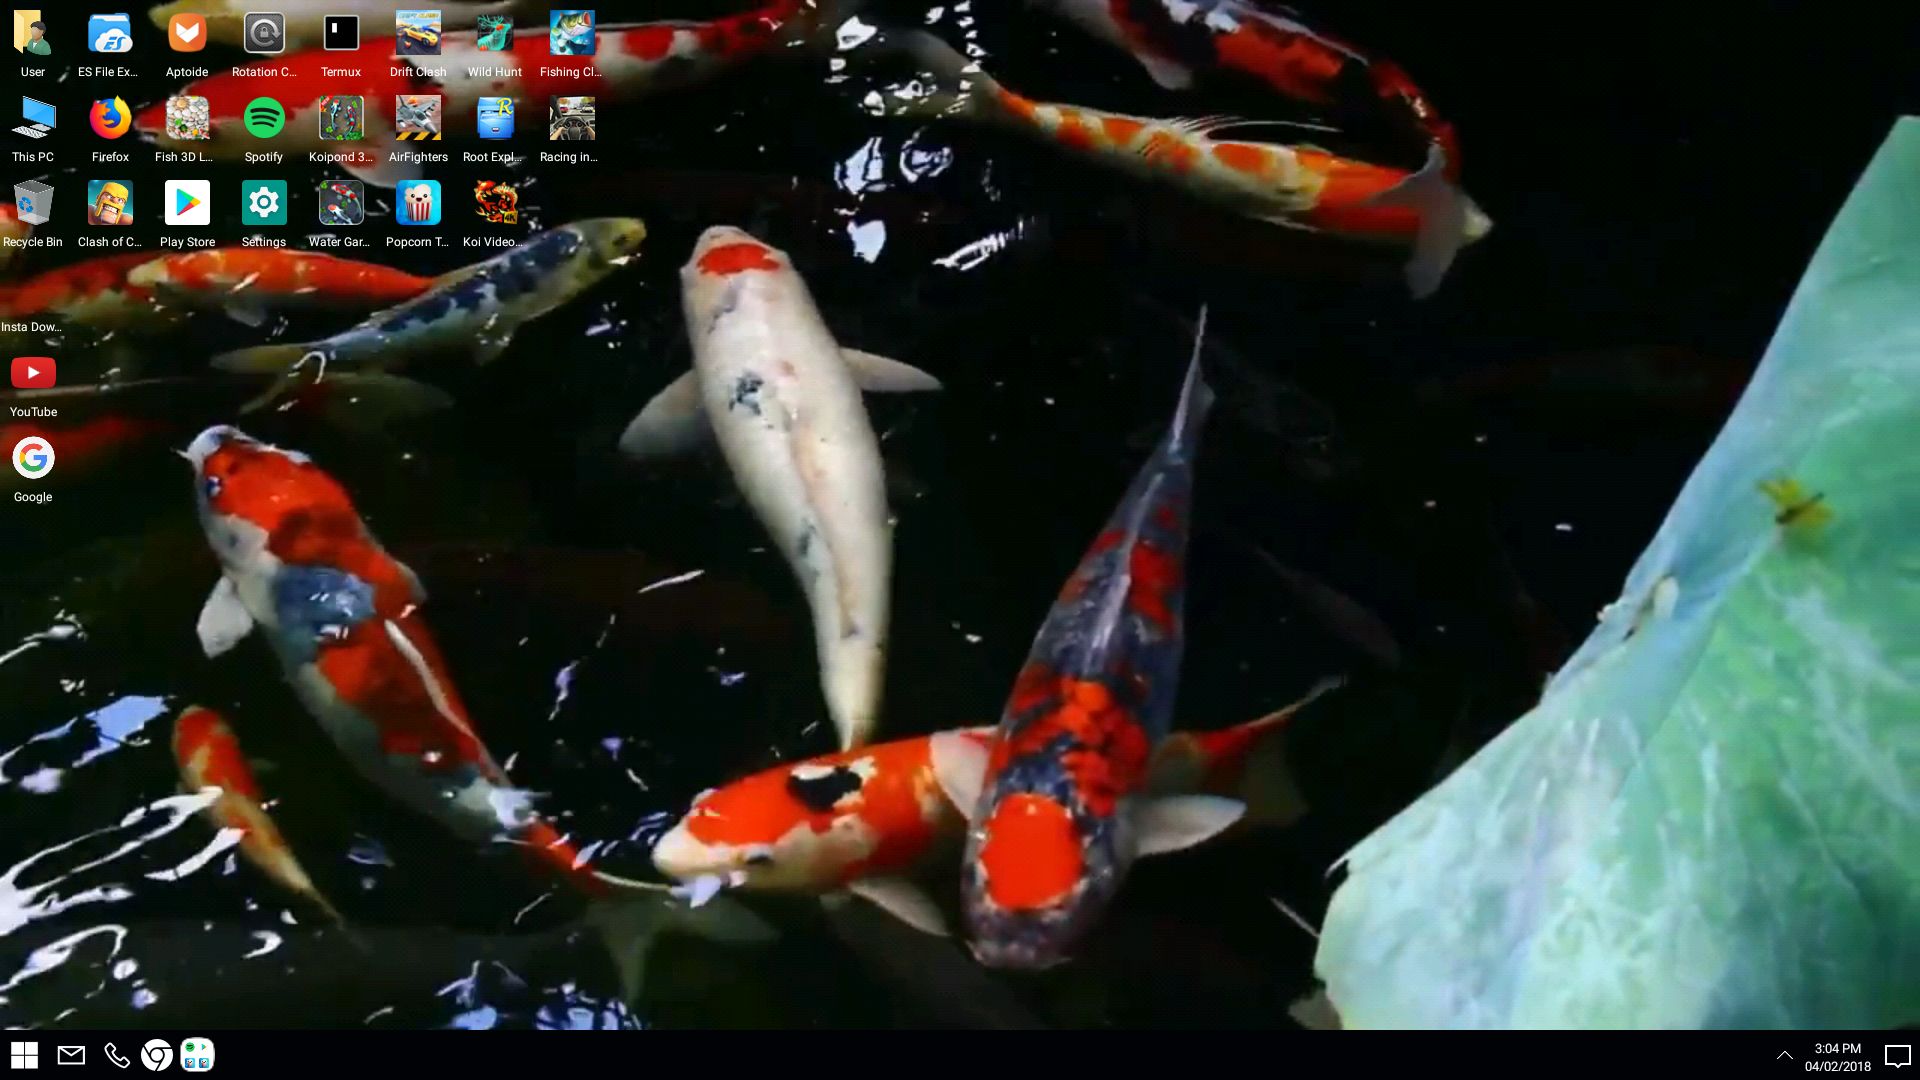
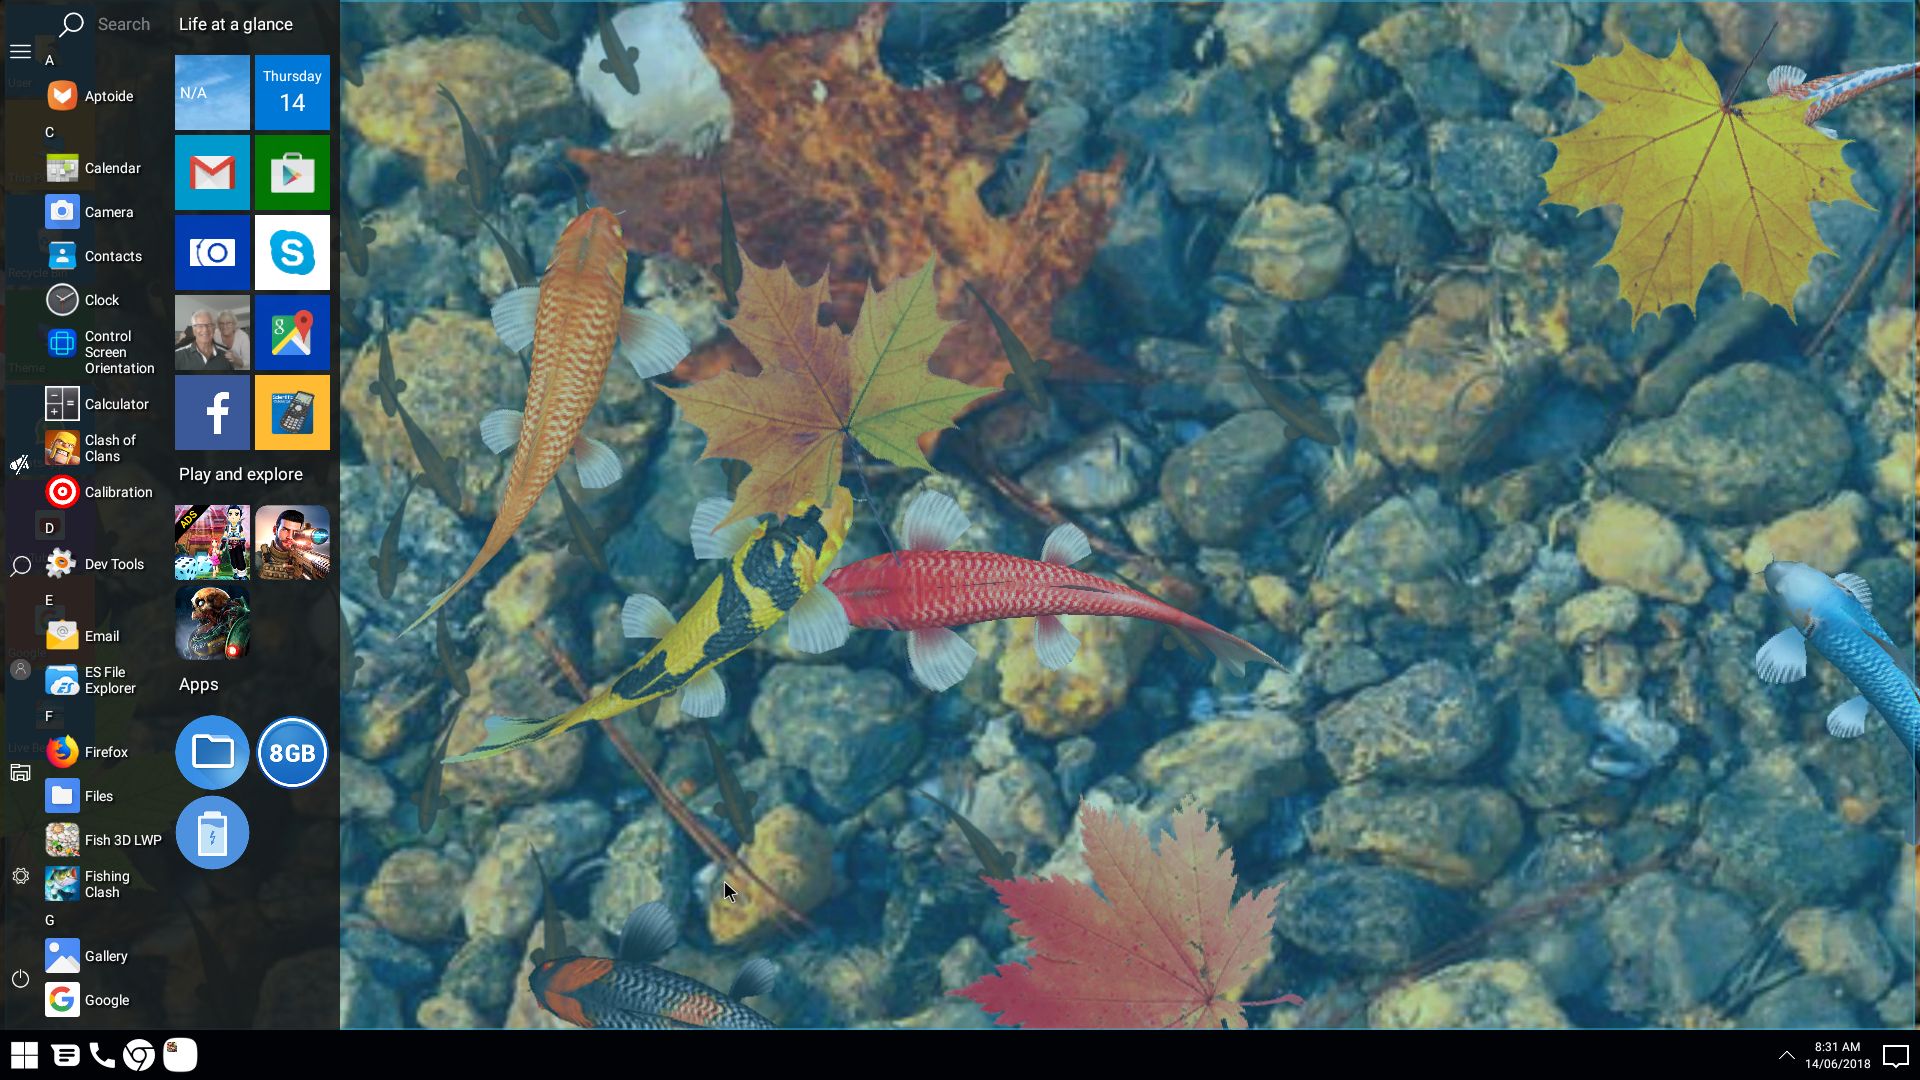
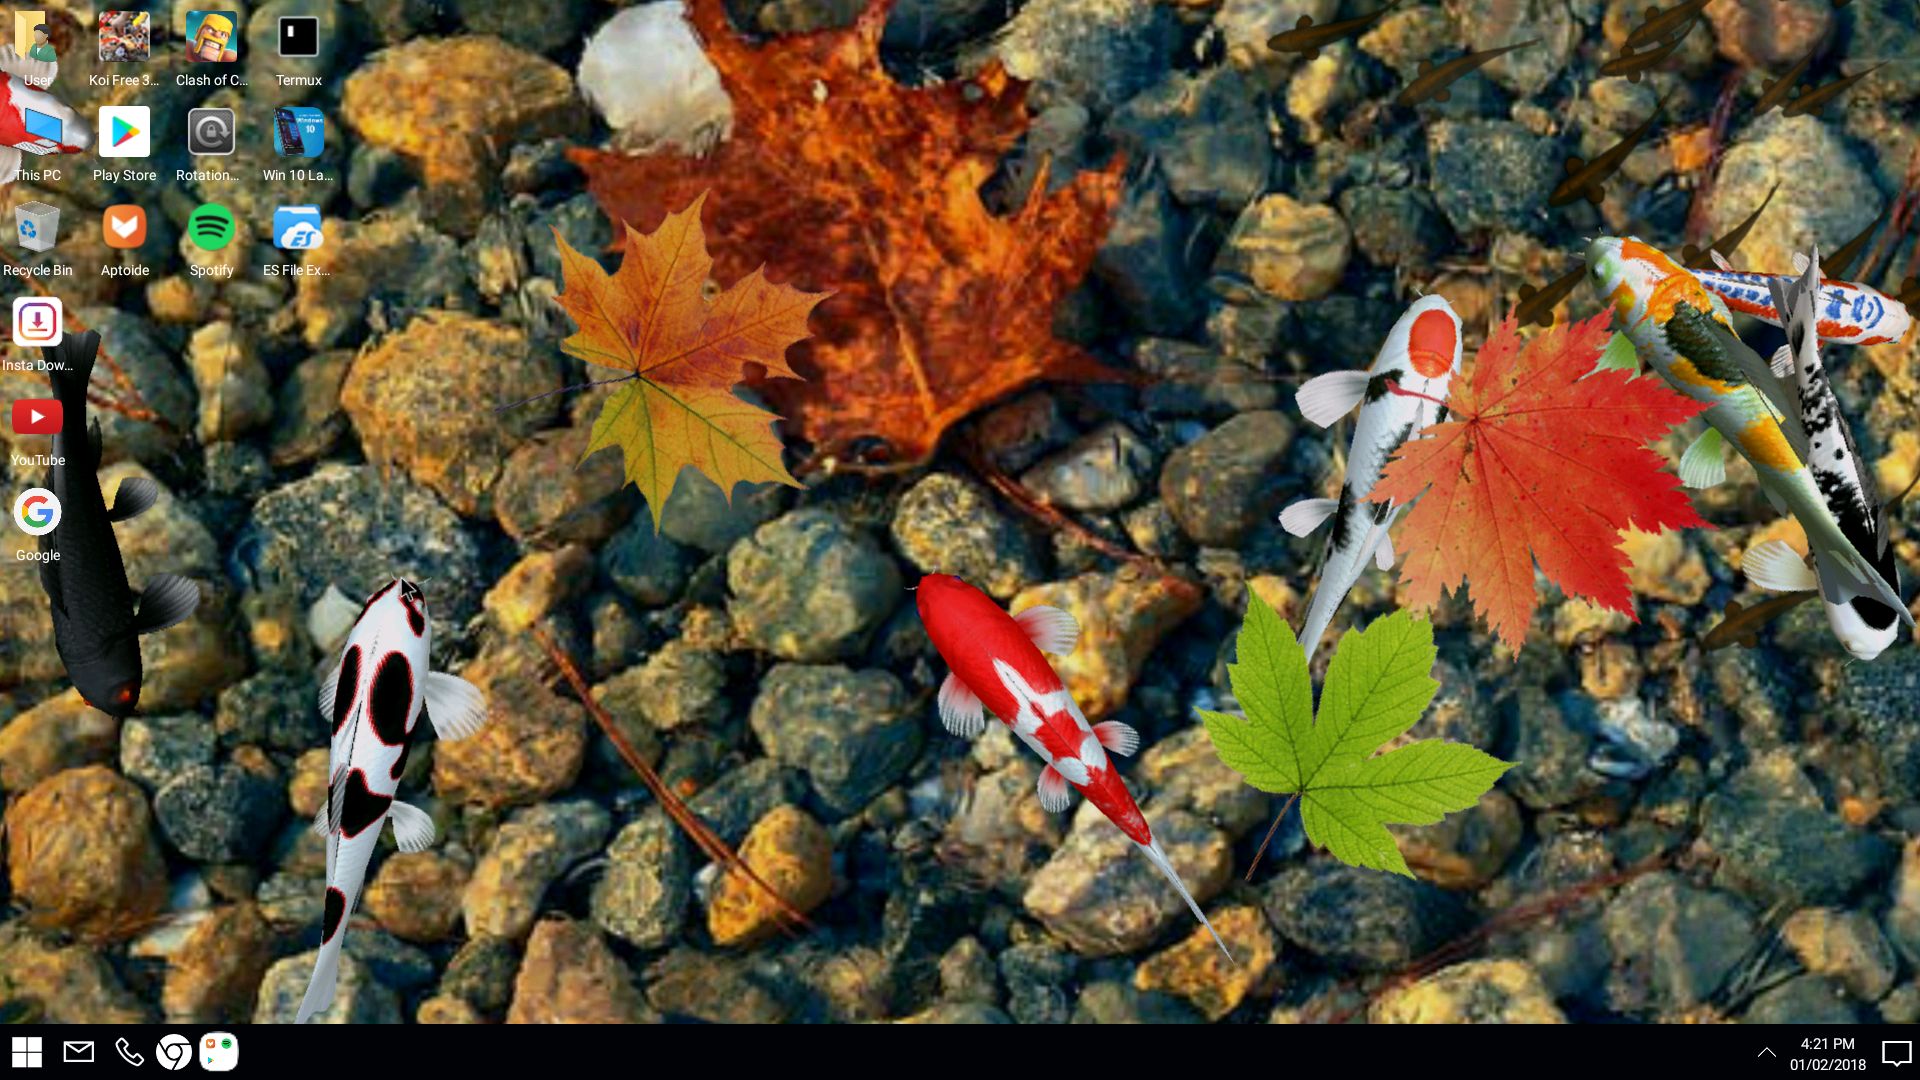
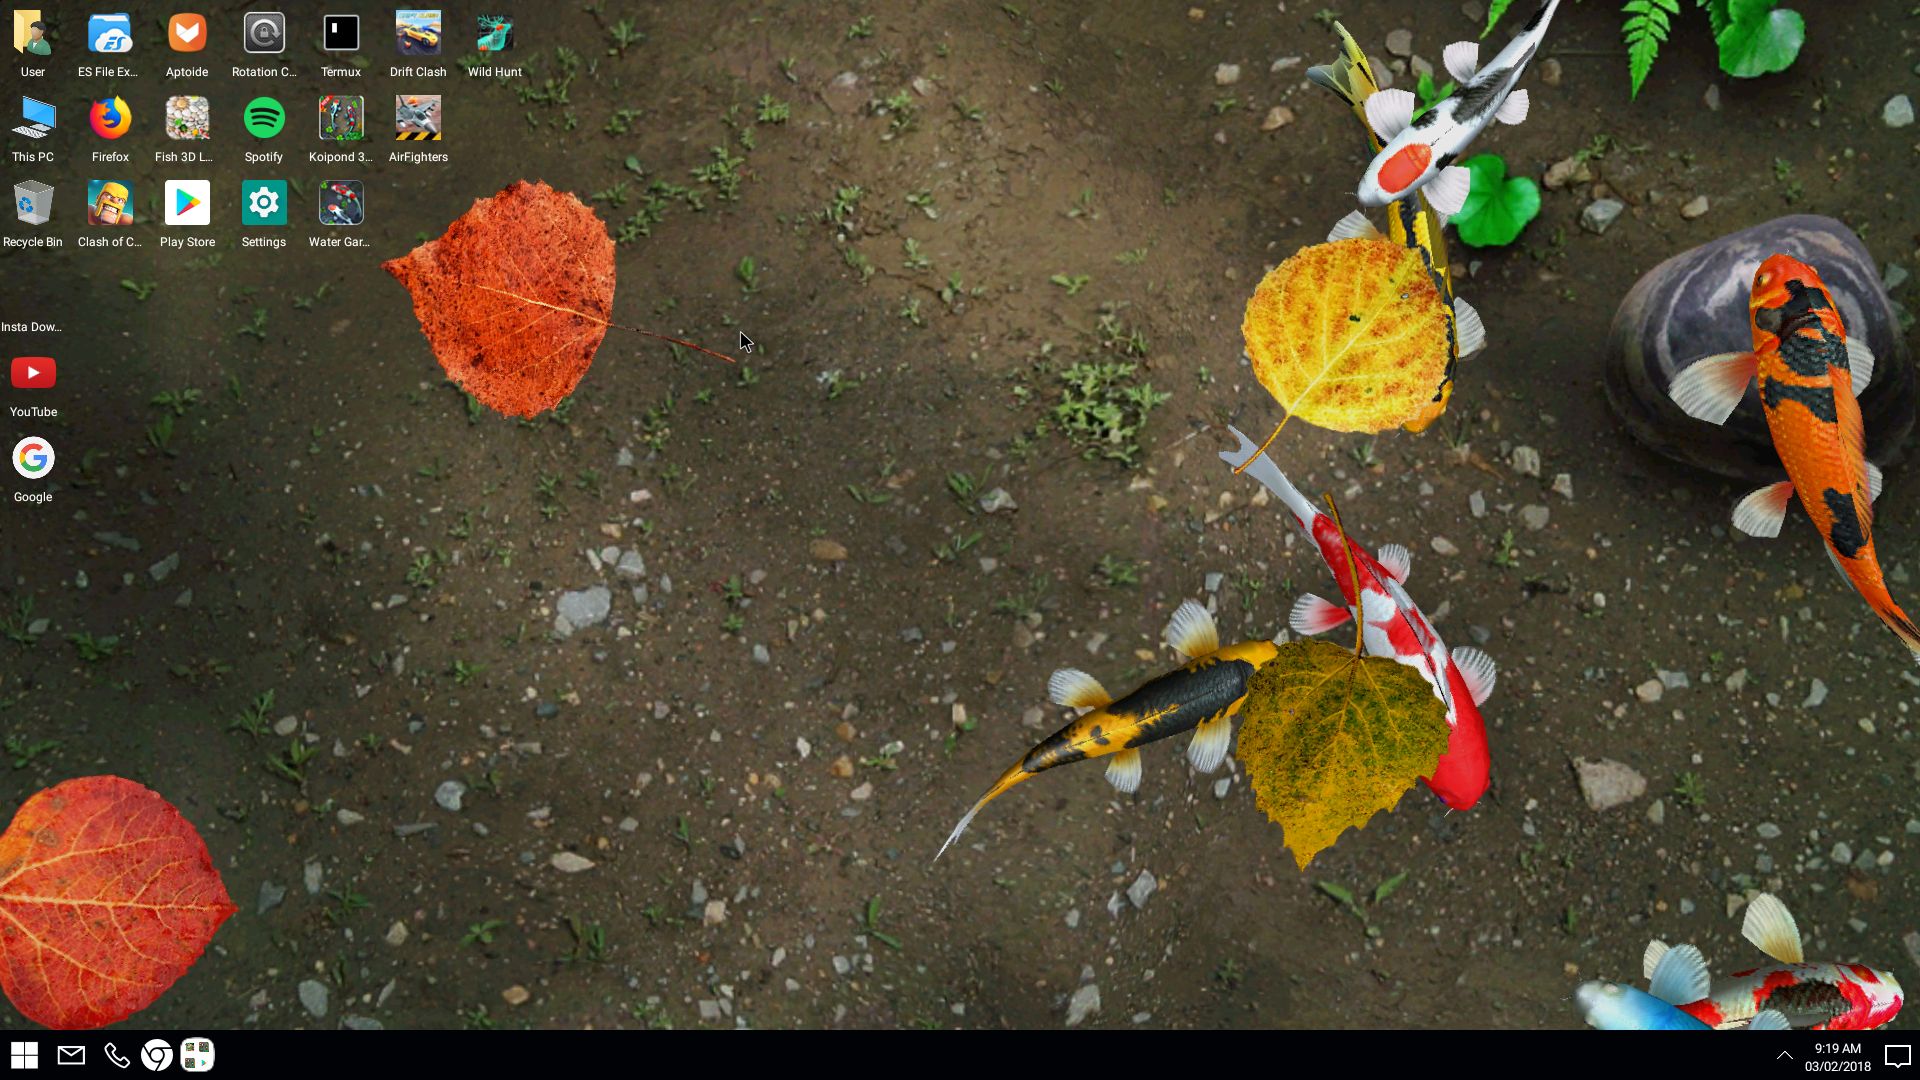
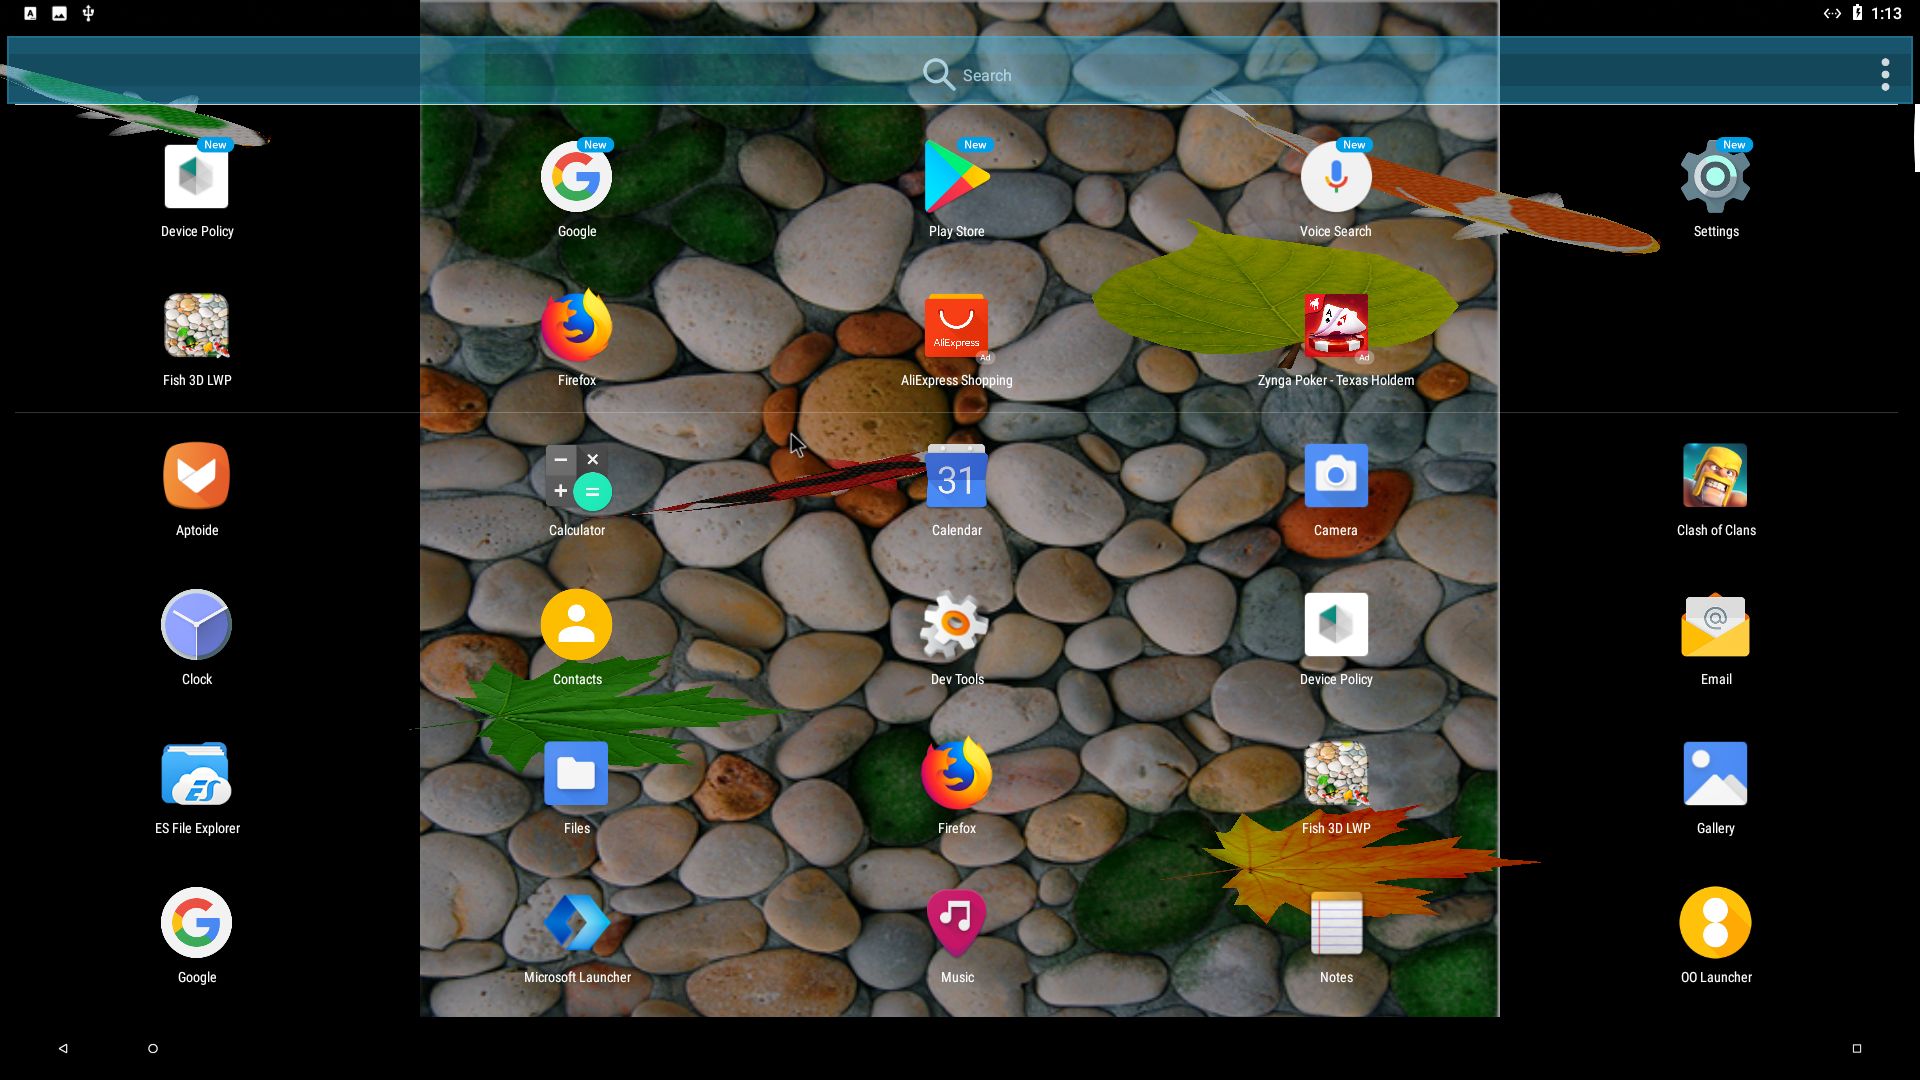
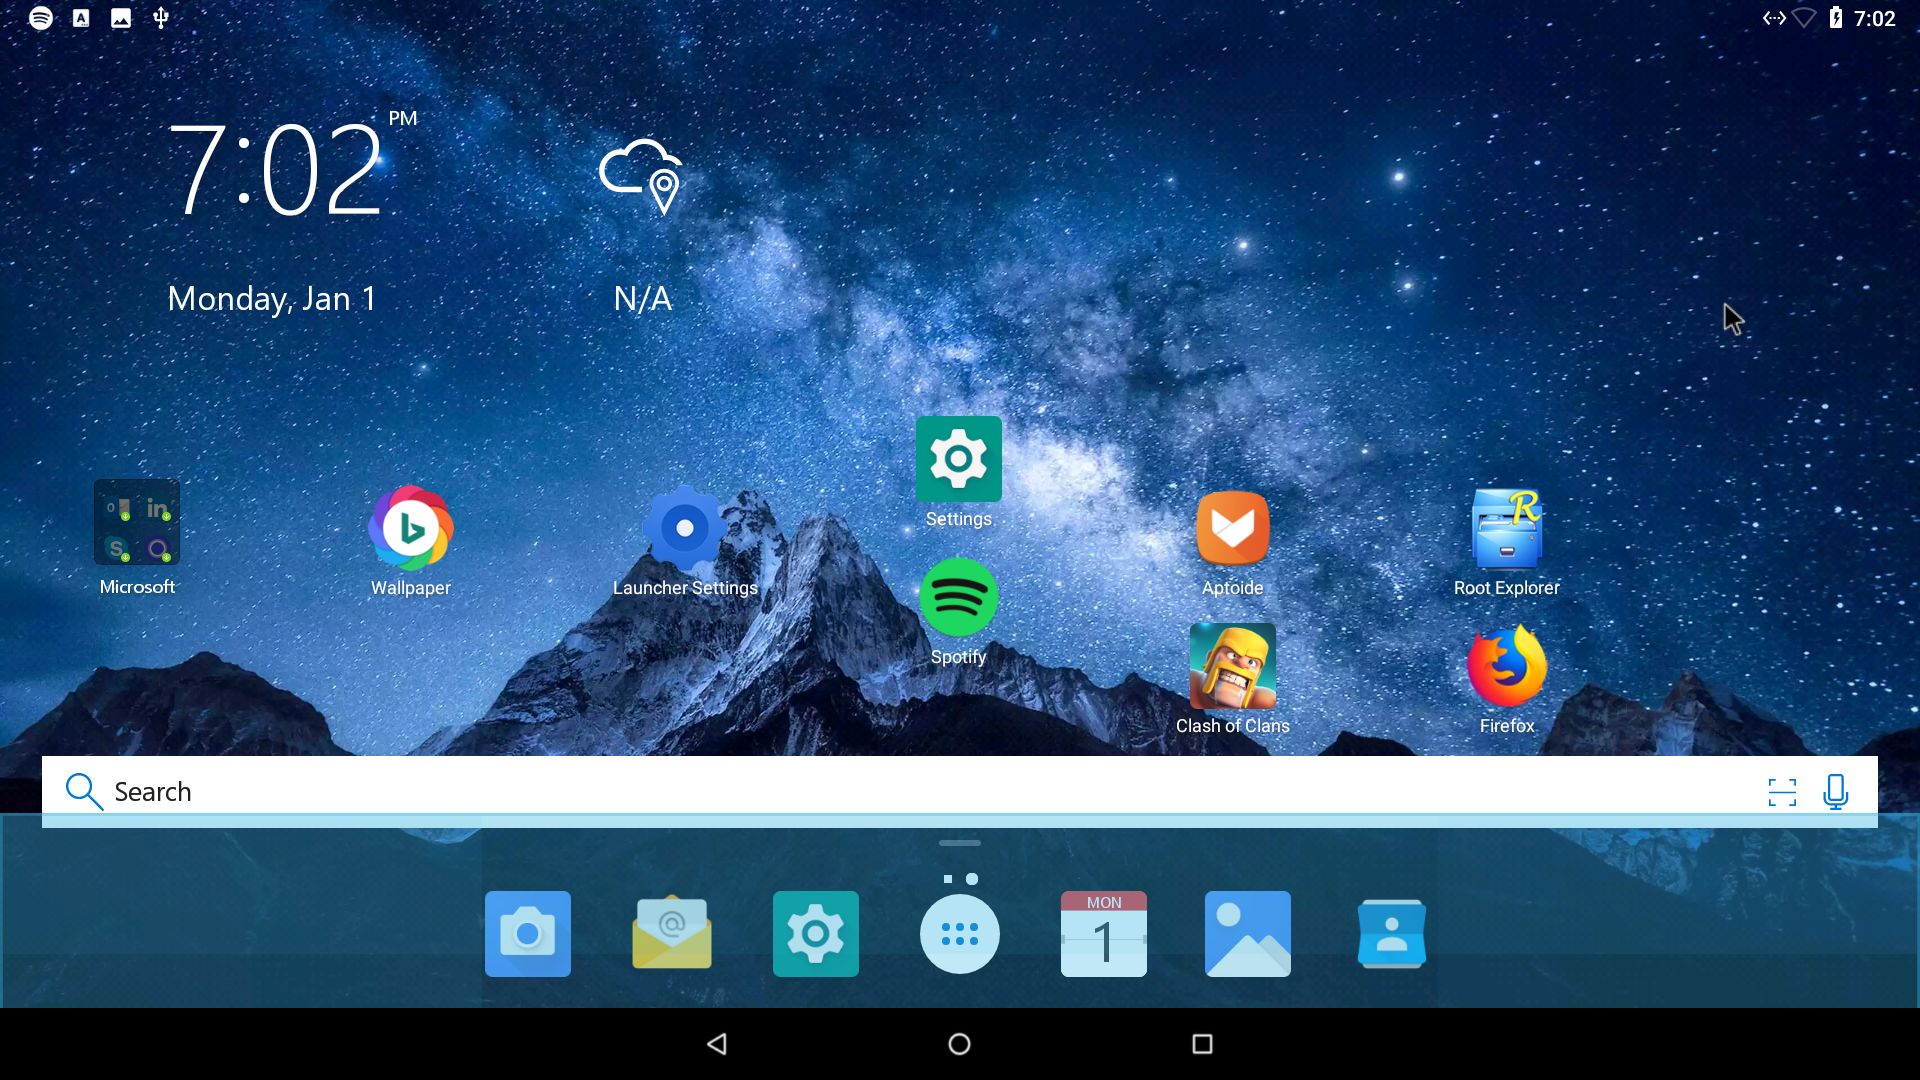
Screenshot – AndEX Build 180614 – the Desktop with Win 10 Launcher for Android 8.1 Oreo – with several extra apps (games) – Koi Video Live Wallpaper, Air Fighters, Popcorn Time, Wild Hunt, Racing In Car 2, Drift Clash and Fishing Club 3D – not pre-installed.
MORE NEWS 180614: AndEX – Oreo 8.1 with kernel 4.9.95-exton-android-x86_64 and GAPPS
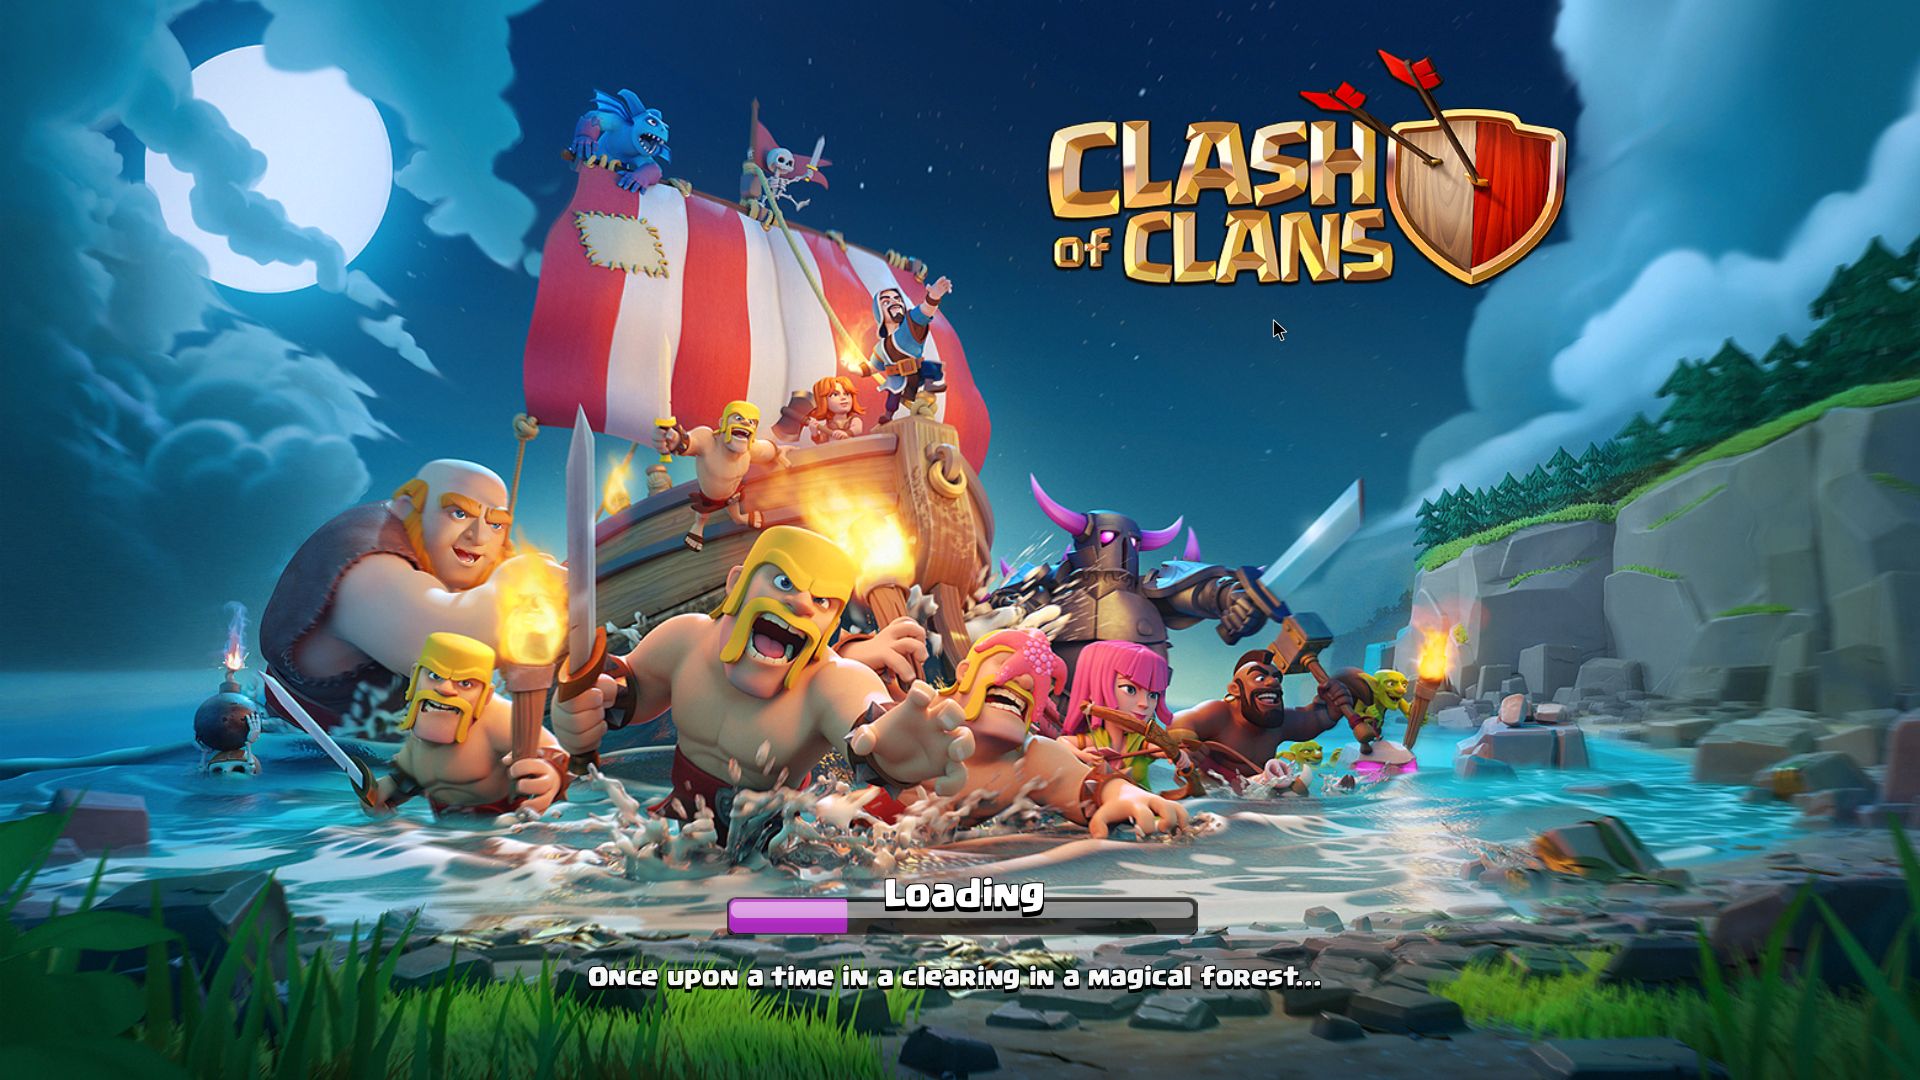
My new build of Android-x86_64 Oreo 8.1 have GAPPS pre-installed. I.e. Google Play Services, Google Play Store, Google Play Games and YouTube. Also many other apps. For example: Spotify, ES File Explorer, Firefox, Root Explorer, Control Screen Orientation and Clash of Clans.
ABOUT AndEX Oreo
My compiled Android-x86_64 system (Oreo 8.1) can run and be installed on almost all newer laptops (and some Desktop computers). For example Acer (Aspire), HP, Samsung, Dell, Toshiba, Lenovo, Thinkpad, Fujitsu, Panasonic and Asus laptops. You can (of course) also run AndEX in VirtualBox and/or VMware. Unfortunately only live though. I can also mention that I could run my new Oreo version without problems on a HP Pavilion 500-317no Desktop Computer. You can only do a manual installation to hard drive. That can, however, even be done to a drive where you already have another Linux system (for example Ubuntu 18.04) installed. Read more below about how to do a very simple manual installation of AndEX Oreo 8.1.
Android Oreo 8.1 was released 171205.
About the Android-x86 project – my sources
All AndEX versions are dependent of the Android-x86 Project’s activity and development.
Clash of Clans (pre-installed) and other popular games
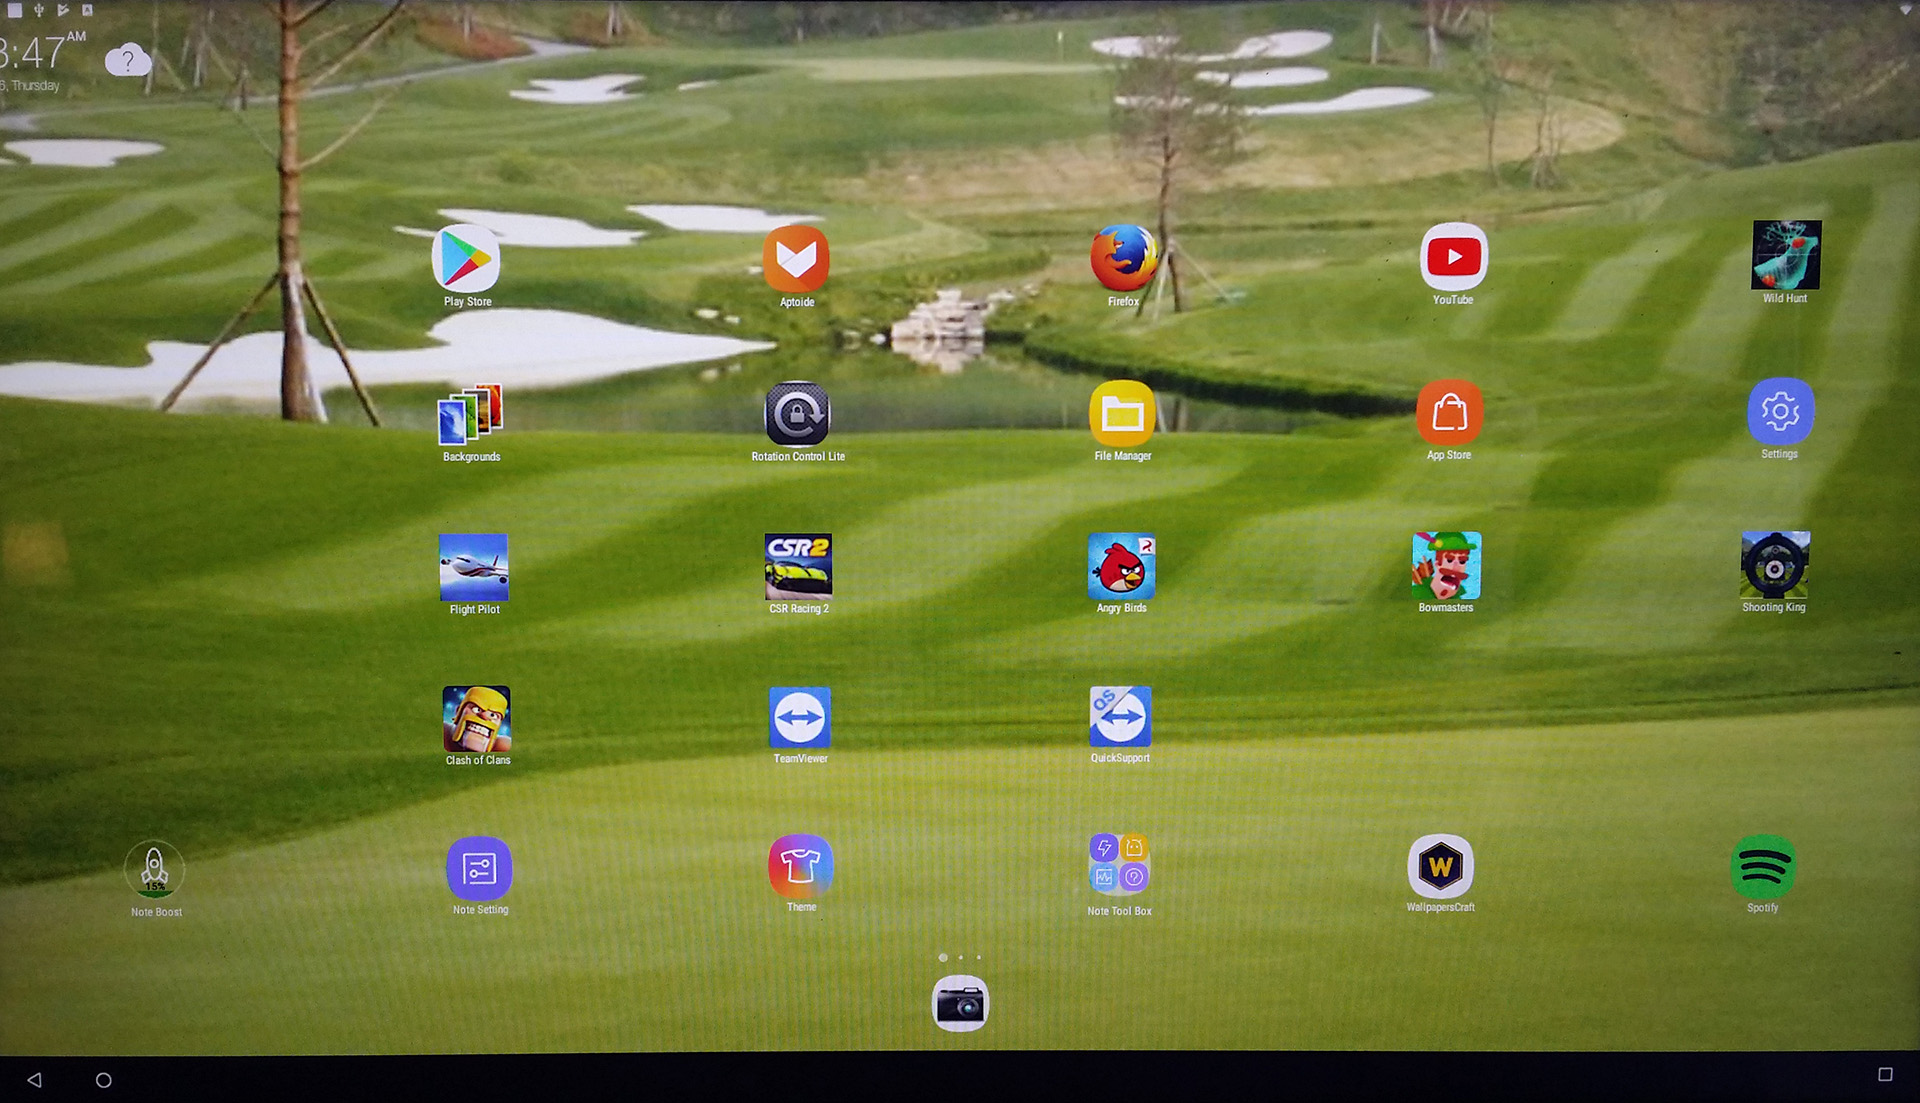
Clash of Clans (a very popular epic strategy game) works very very well. Perfect video quality and audio. If you have a touchscreen you can also (for example) run Wild Hunt, Flight Pilot, CSR Racing 2, Angry Birds, Bowmasters and Shooting King. Watch a screenshot of the desktop when I have installed the just mentioned game apps (in AndEX Nougat).
HOW TO do a simple manual installation (FRUGAL) of AndEX Oreo to hard drive
The system’s install function doesn’t work. I.e. everything seems alright during the install process, but the system won’t boot from hard drive. The system can therefore only be installed manually to hard drive. To be able to do that you must have at least one Linux system installed on your hard drive. You must also use Grub as bootloader. Follow these steps.
1. Use preferably Etcher to create a bootable USB stick from the ISO file andex_x86_64-oreo-8.1-gapps-windows-launchers-1050mb-180614.iso.
2. Start up a Linux system (Ubuntu or…) on the computer where you want to have AndEX Oreo installed.
3. Create a special partition for AndEX Oreo or use the partition where you already have one Linux system installed. The one you just booted up or…
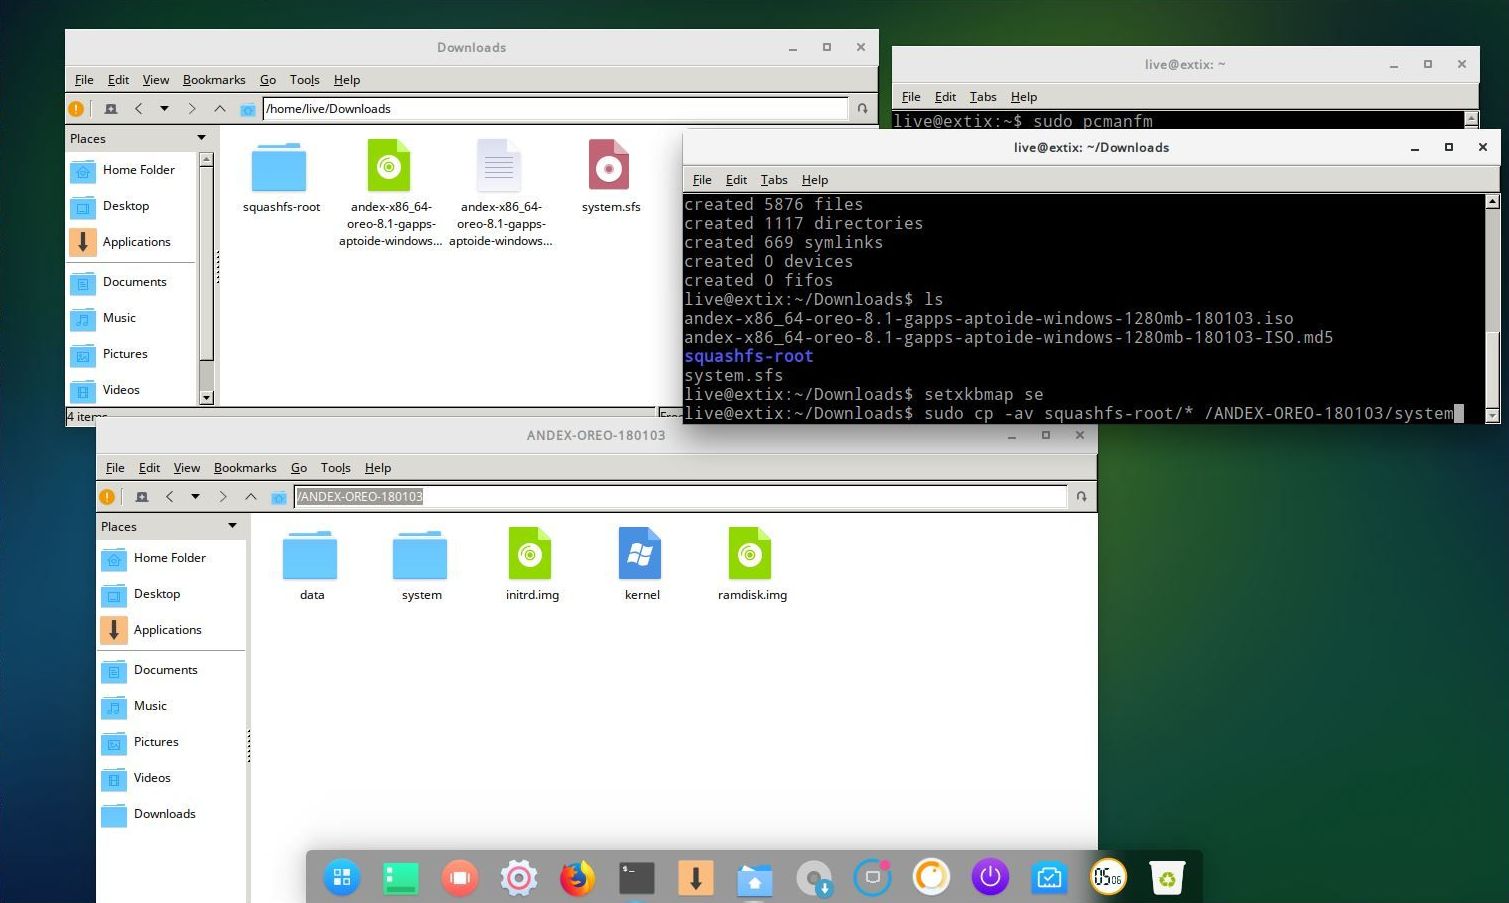
4. Create a folder called ANDEX-OREO-180614 (or…) in the root (/) of your new partition (formatted as ext4) or in the root of for example your Ubuntu system.
5. Create also the folder /ANDEX-OREO-180614/data. Very important! All your system changes will be saved to the folder data.
6. Now insert your USB stick with AndEX Oreo 8.1 and mount it (if not mounted automatically. You will see this.
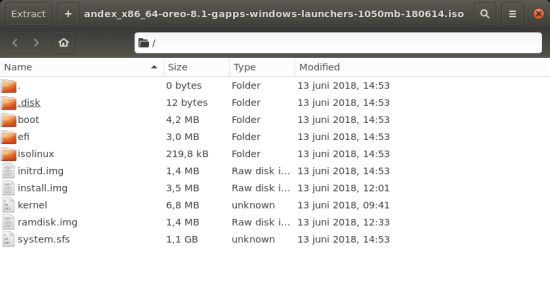
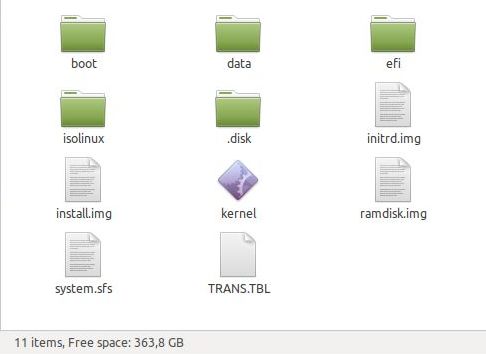
As you can see there are 9 files on the USB stick. Transfer (copy) all of them to the folder ANDEX-OREO-180614. When you have done that the folder ANDEX-OREO-180614 will look like this.

You will now have 10 files in the folder ANDEX-OREO-180614 including the important folder data. As you can see I’ve presumed that you want to do a FRUGAL installation. I.e. have AndEX Oreo on the same partition you are running from. Now you must configure Grub to be able to boot up AndEX Oreo – see the example below.
About Grub and “dual-boot/multi-boot”
If you already have have one or more Linux systems installed on your hard drive (which you must have to be able to install AndEX Oreo Build 180614) you can see below how to use Grub2 (which Ubuntu and most other Linux systems use as boot loader). You should add these lines to /boot/grub/grub.cfg or /etc/grub.d/40_custom – for example:
menuentry ‘AndEX 8.1 Oreo 180614 (sda8-FRUGAL)’ {
recordfail
load_video
insmod gzio
if [ x$grub_platform = xxen ]; then insmod xzio; insmod lzopio; fi
insmod part_gpt
insmod ext2
if [ x$feature_platform_search_hint = xy ]; then
search –no-floppy –fs-uuid –set=root 35527b5d-4652-4bcf-97b5-27ff3b1f267a
else
search –no-floppy –fs-uuid –set=root 35527b5d-4652-4bcf-97b5-27ff3b1f267a
fi
linux /ANDEX-OREO-180614/kernel root=/dev/ram0 androidboot.selinux=permissive DPI=160 UVESA_MODE=1366×768 SRC=/ANDEX-OREO-180614
initrd /ANDEX-OREO-180614/initrd.img
}
NOTE 1: On some computers you may have to add nomodeset to the linux boot line. If so you may also have to remove DPI=160 and UVESA_MODE=1366×768 from the linux boot line. AndEX won’t start otherwise or you won’t have sound.
NOTE 2: The DPI=160 entry provides a hint about the display’s pixel density in dots per inch. This is an important setting — if the Android display’s icons and text look too small and crowded, increase this number. If things seem too big, make it smaller.
NOTE 3: The UVESA_MODE=1366×768 entry describes the display size. This is also an important setting. If you know your display’s actual dimensions, enter them here. But not all dimensions work – it sometimes happens that a display specification that’s possible in principle isn’t feasible in practice.
If you use Grub Legacy (which is very unusual today) you should add these lines to /boot/grub/menu.lst
title AndEX Oreo 8.1 – 180614 (sda8)
root (hd0,7)
kernel /ANDEX-OREO-180614/kernel quiet root=/dev/ram0 androidboot.selinux=permissive SRC=/ANDEX-OREO-180614
initrd /ANDEX-OREO-180614/initrd.img
Manual installation of AndEX Oreo in VirtualBox and/or VMware
You can (of course) also do a manual (FRUGAL) installation – as described above – also in VirtualBox and/or VMware. After such an installation everything will work very good. Do it like this.
1. Install a Linux system on a virtual partition of at least 20 GB in for example VirtualBox. Use Grub2 as boot loader. In this example I use ExLight Build 180214.
2. Start up ExLight and download the ISO file andex_x86_64-oreo-8.1-gapps-windows-launchers-1050mb-180614.iso to /root.
3. Create the folder mnt and mount the ISO file there – watch this screenshot.
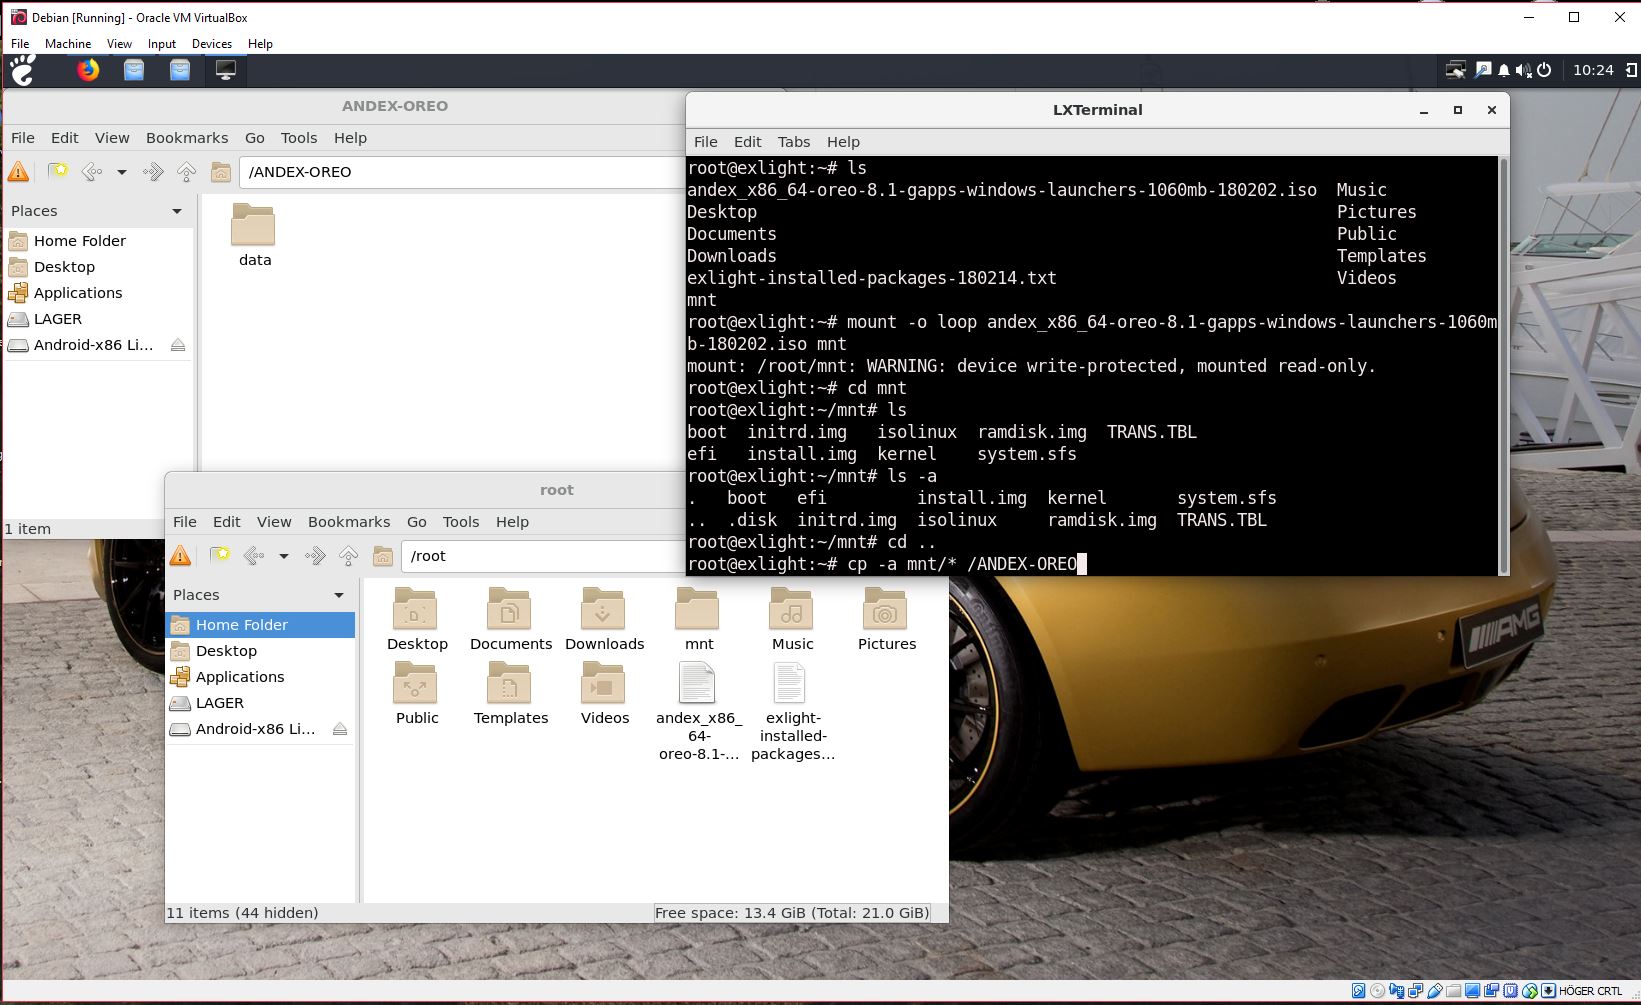
4. Create the folder /ANDEX-OREO and /ANDEX-OREO/data.
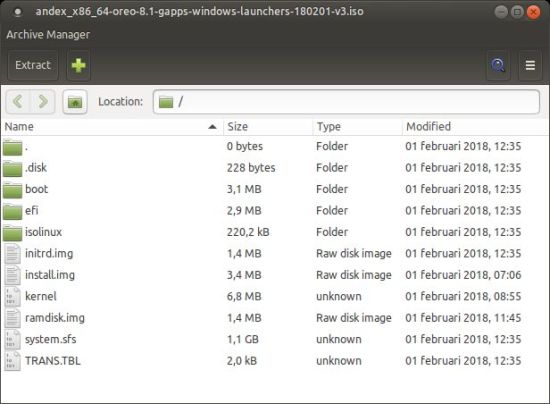
5. Copy all files from the folder mnt to /ANDEX-OREO – watch this screenshot. Be sure to also copy the hidden folder mnt/.disk to /ANDEX-OREO.
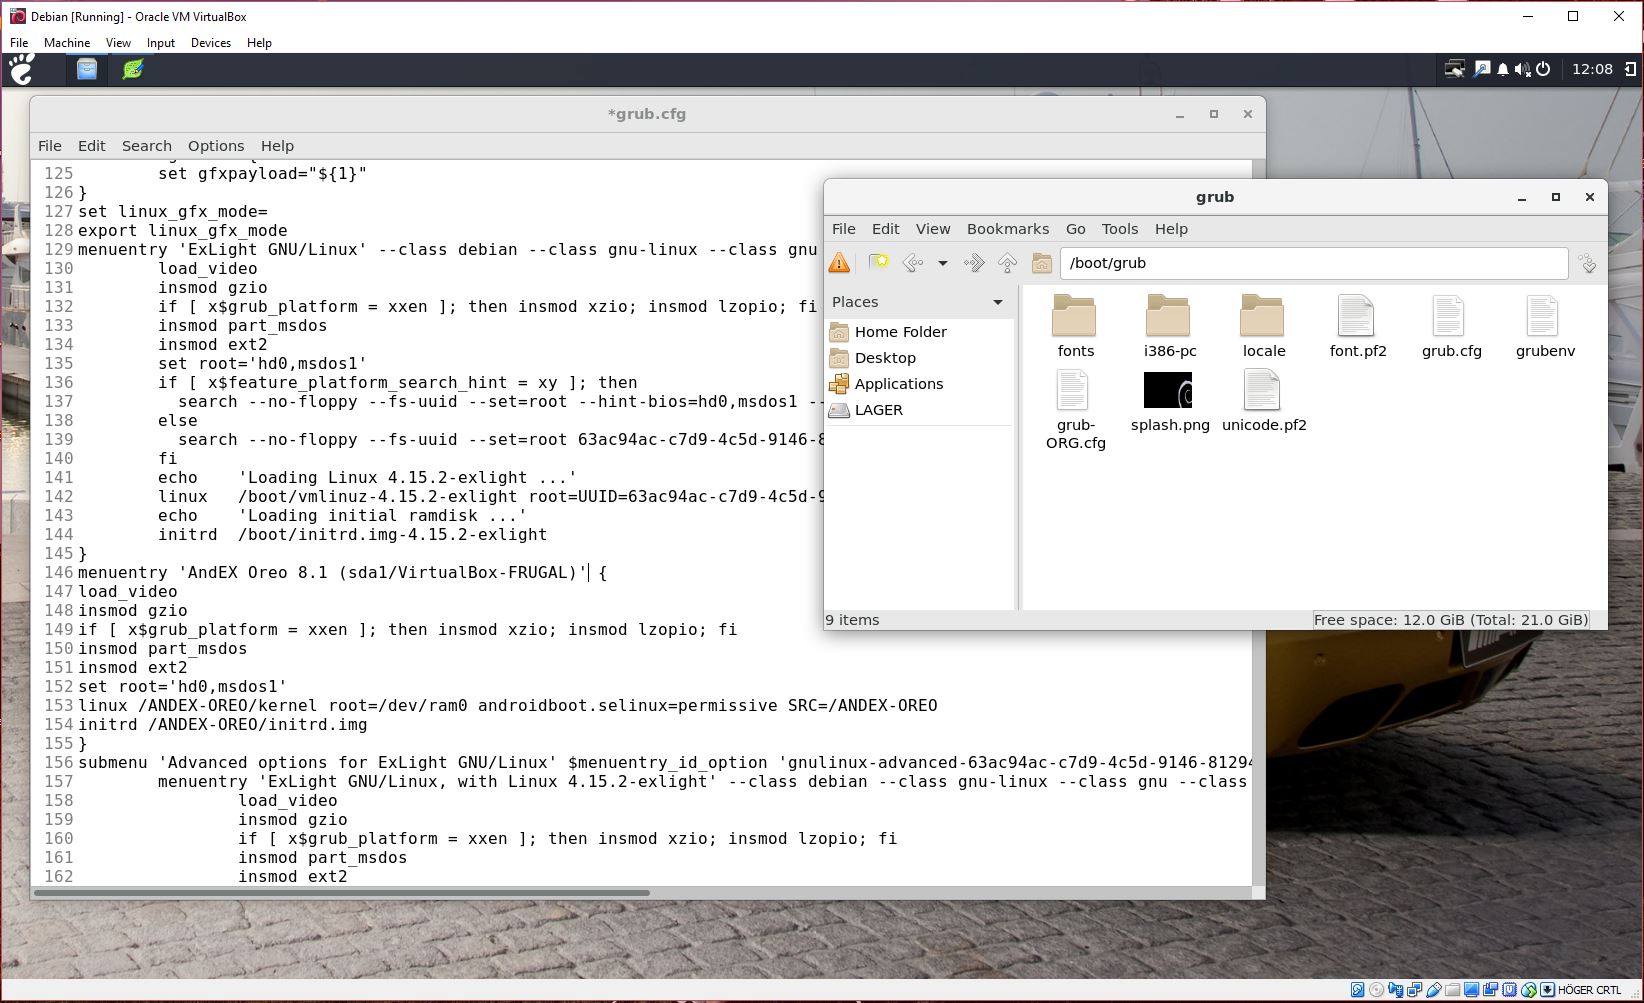
6. Finally edit /boot/grub/grub.cfg as this screenshot shows. Your Grub menu will then look like this. I.e. add these start lines to /boot/grub/grub.cfg:
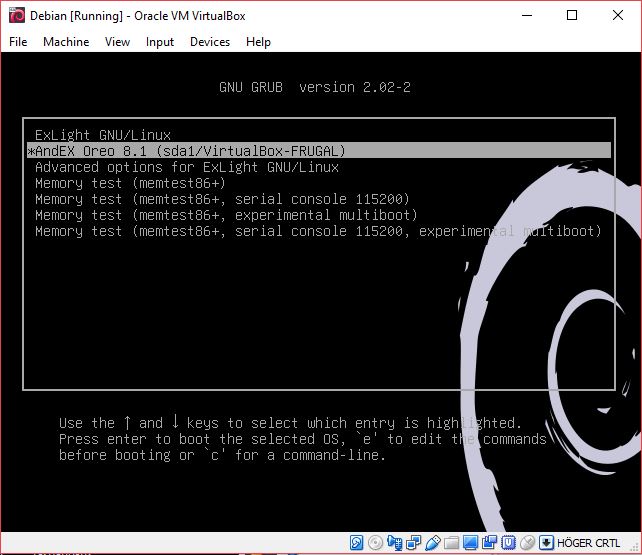
menuentry ‘AndEX Oreo 8.1 (sda1/VirtualBox-FRUGAL)’ {
load_video
insmod gzio
if [ x$grub_platform = xxen ]; then insmod xzio; insmod lzopio; fi
insmod part_msdos
insmod ext2
set root=’hd0,msdos1′
linux /ANDEX-OREO/kernel root=/dev/ram0 androidboot.selinux=permissive SRC=/ANDEX-OREO
initrd /ANDEX-OREO/initrd.img
}
Language settings
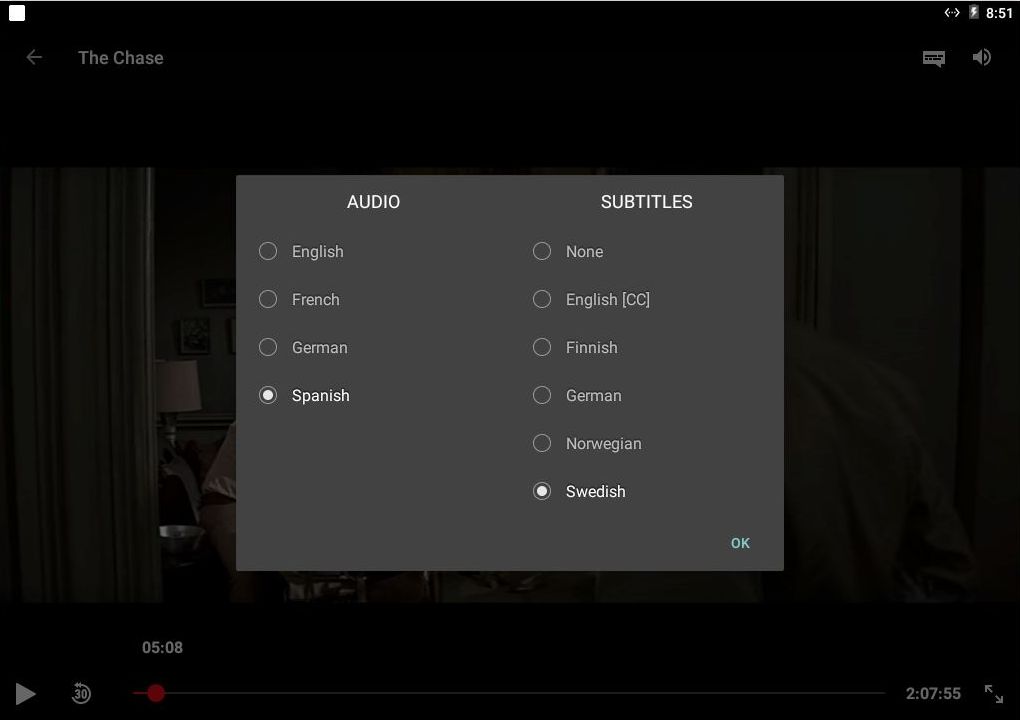
You can (of course) run AndEX Nougat in any language. Just go to Settings and change to your preferred language. The changes will take immediate effect.
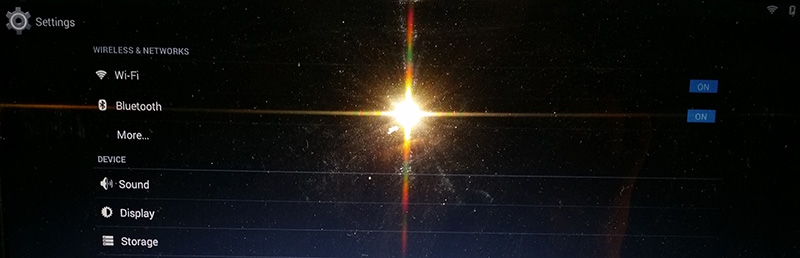
Wireless connections
Wifi works alright in AndEX Oreo. Just go to Settings and turn Wifi on.
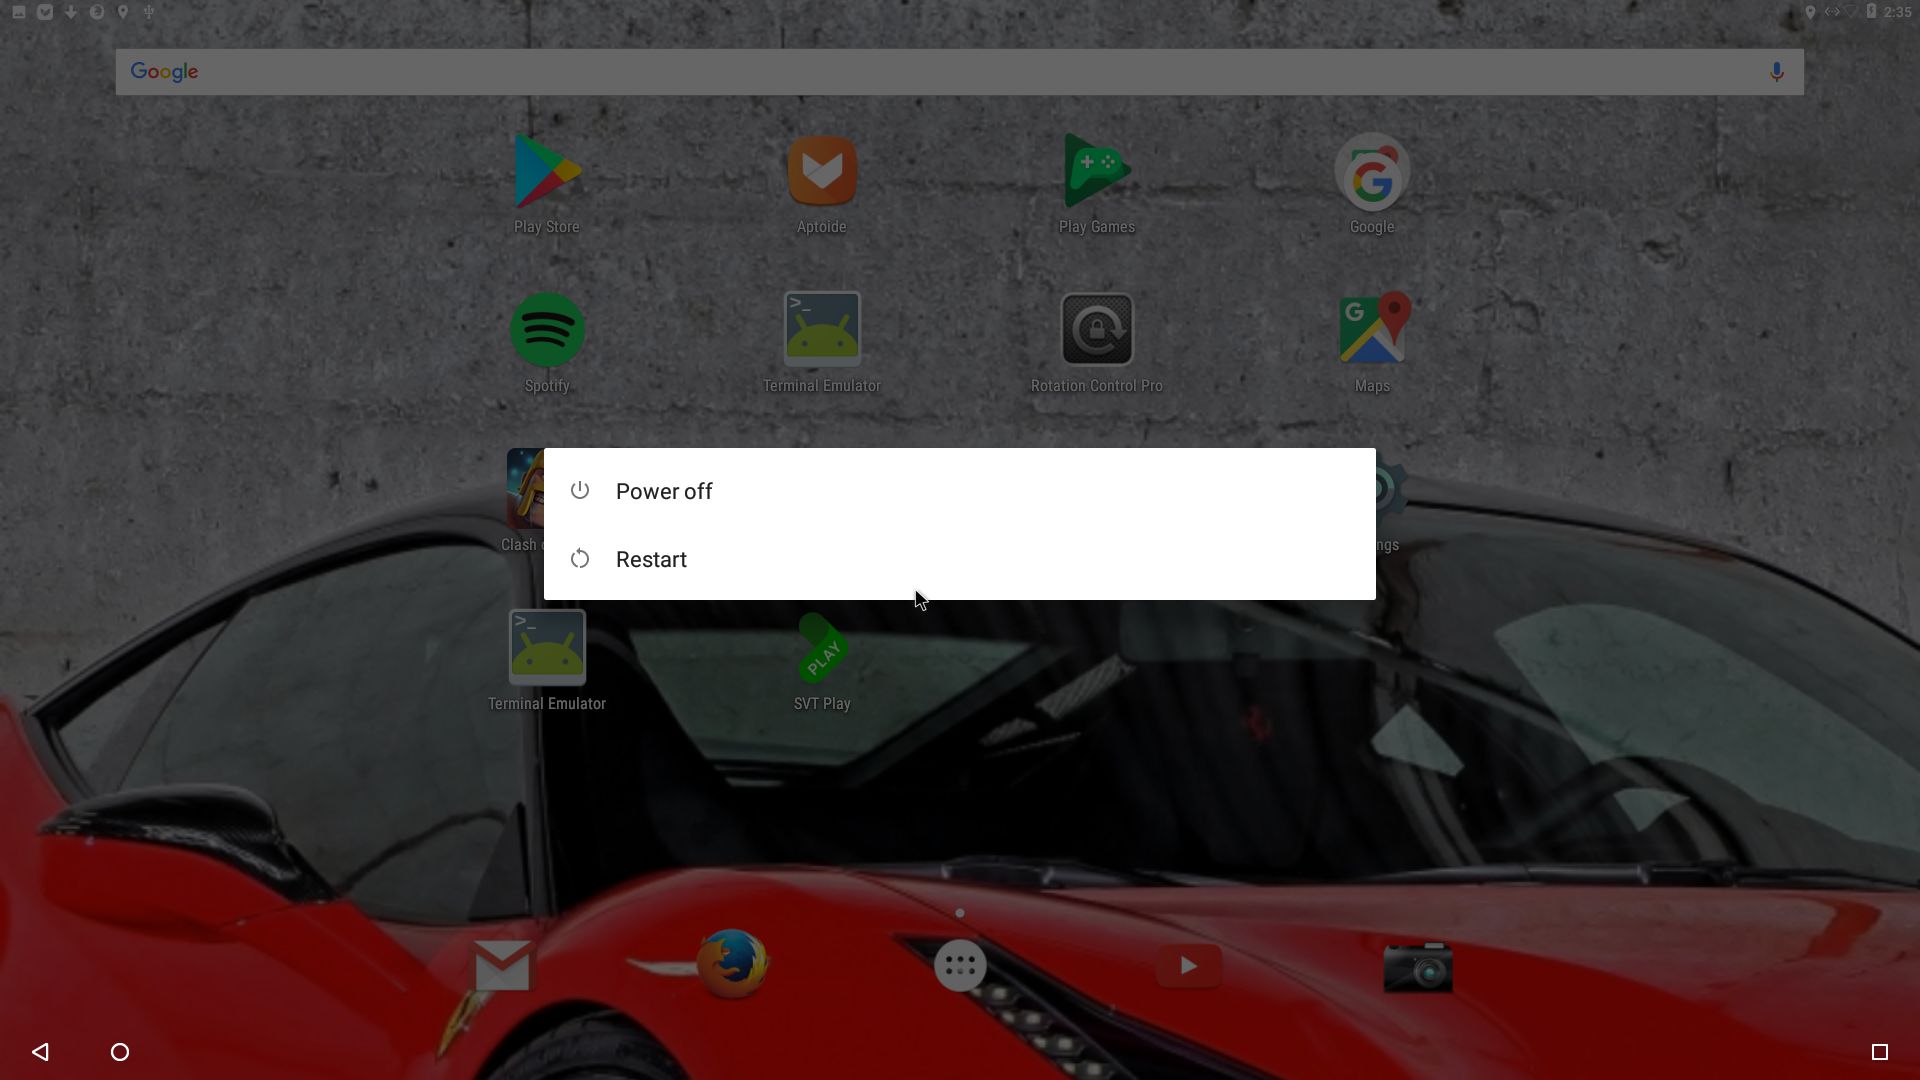
Power off the system
Just press gently on your computer’s power button and you will get two alternatives. Power off or Restart.
Running AndEX Oreo in VirtualBox and/or VMware
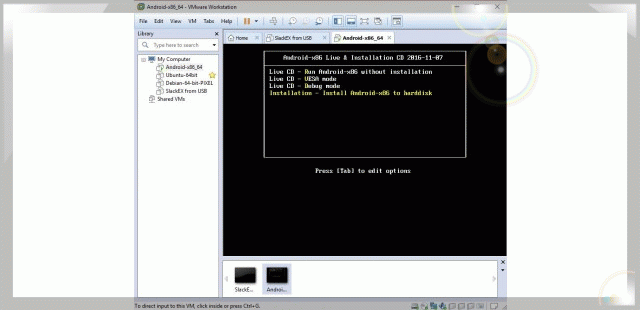
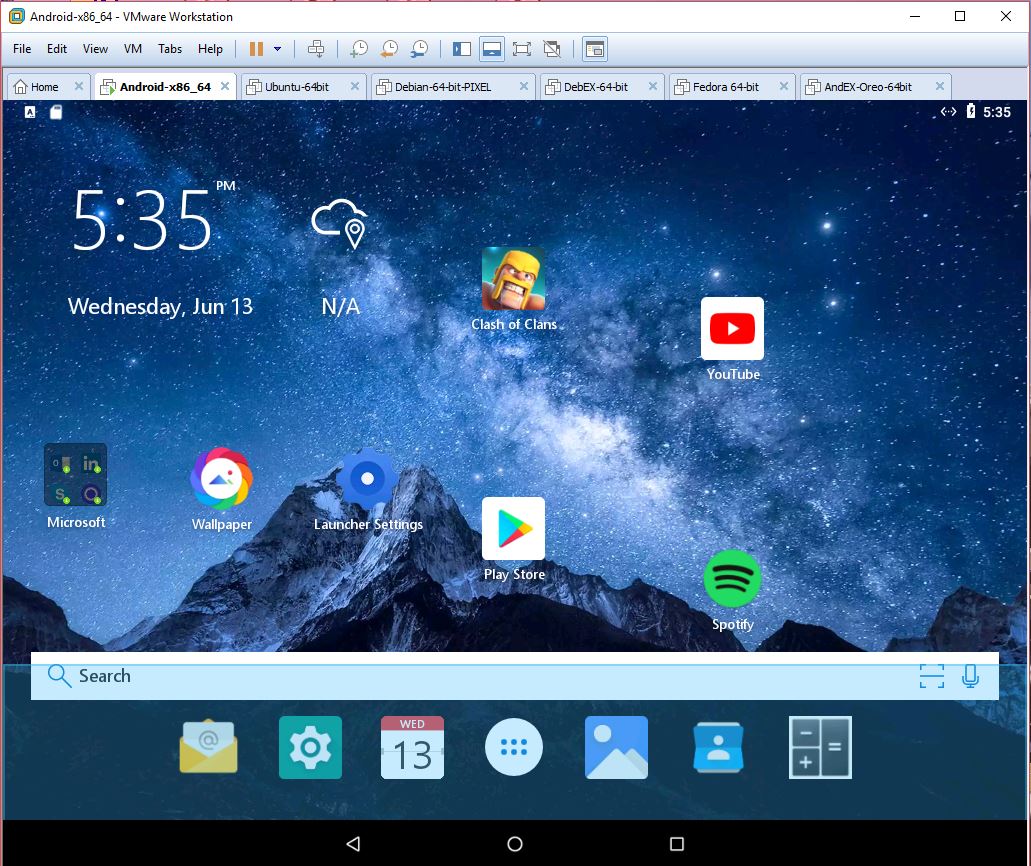
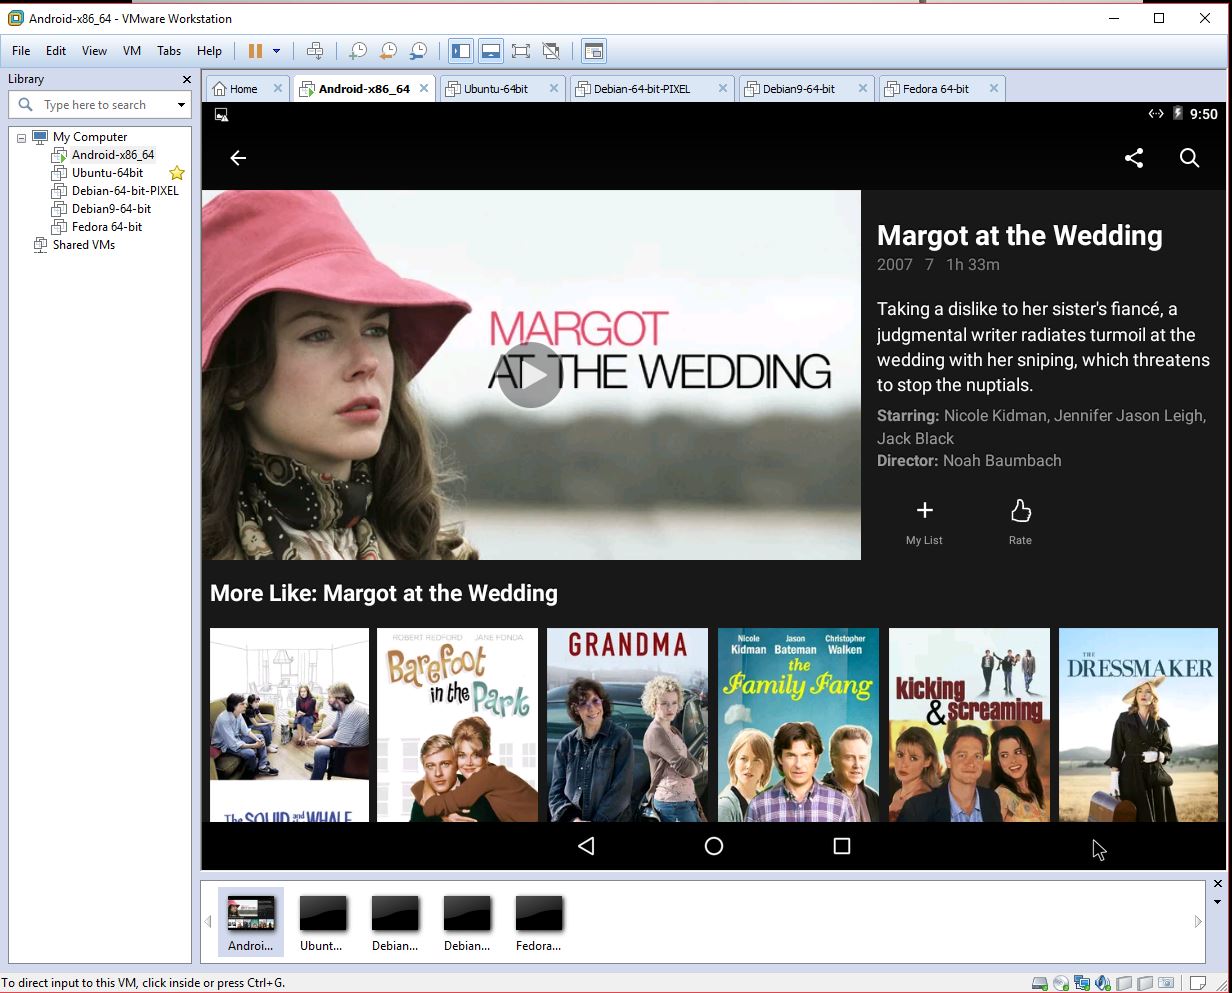
You can run AndEX Oreo Build 180614 (from the ISO file) very well live in VirtualBox and VMware. But you cannot install AndEX 8.1 to a virtual hard drive in VirtualBox and VMware. The install function doesn’t work. I.e. everything seems alright during the install process, but the system won’t boot from hard drive. You can, however, do a manual installation as describe above under Manual installation of AndEX Oreo in VirtualBox and/or VMware. The install function in AndEX 7.1.2 Build 170619 and AndEX 7.0 Build 161107 work very well in VMware (and VirtualBox) though. Watch a slideshow, which shows all installation steps in VMware.
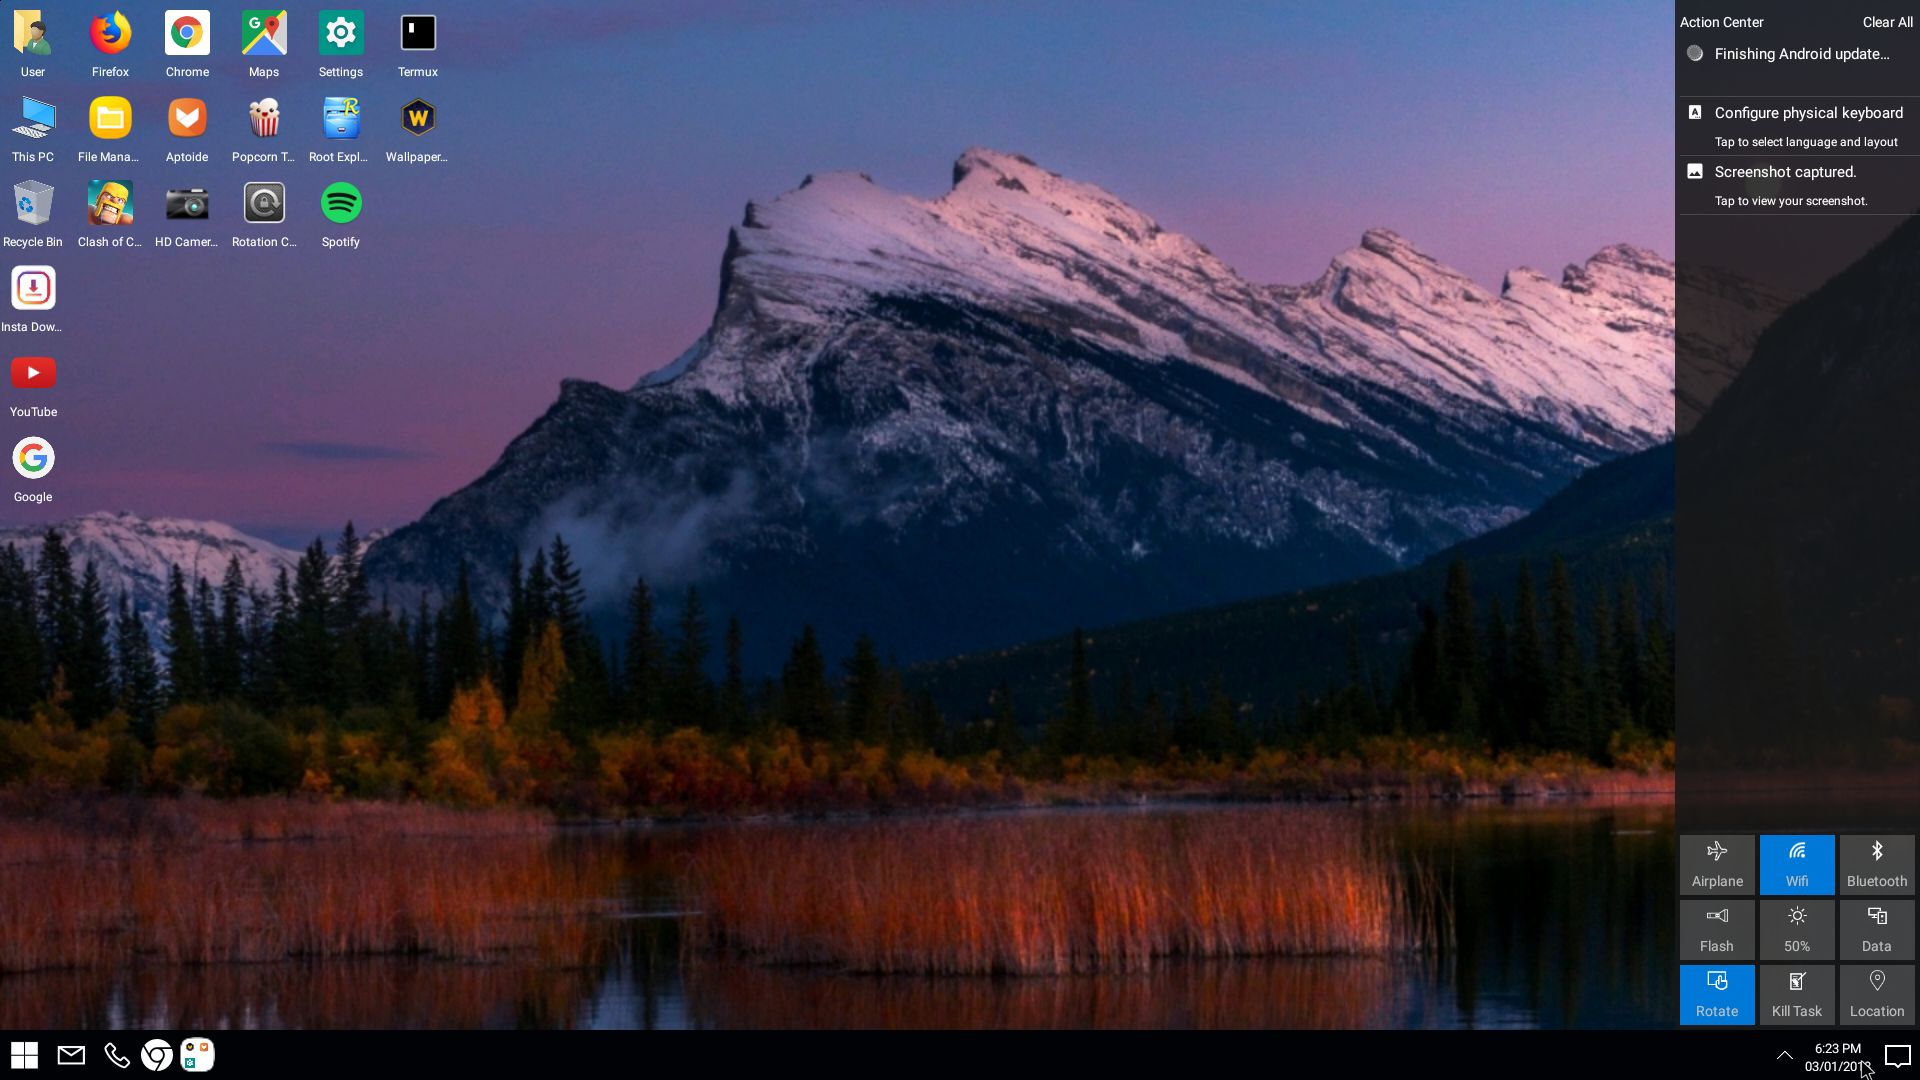
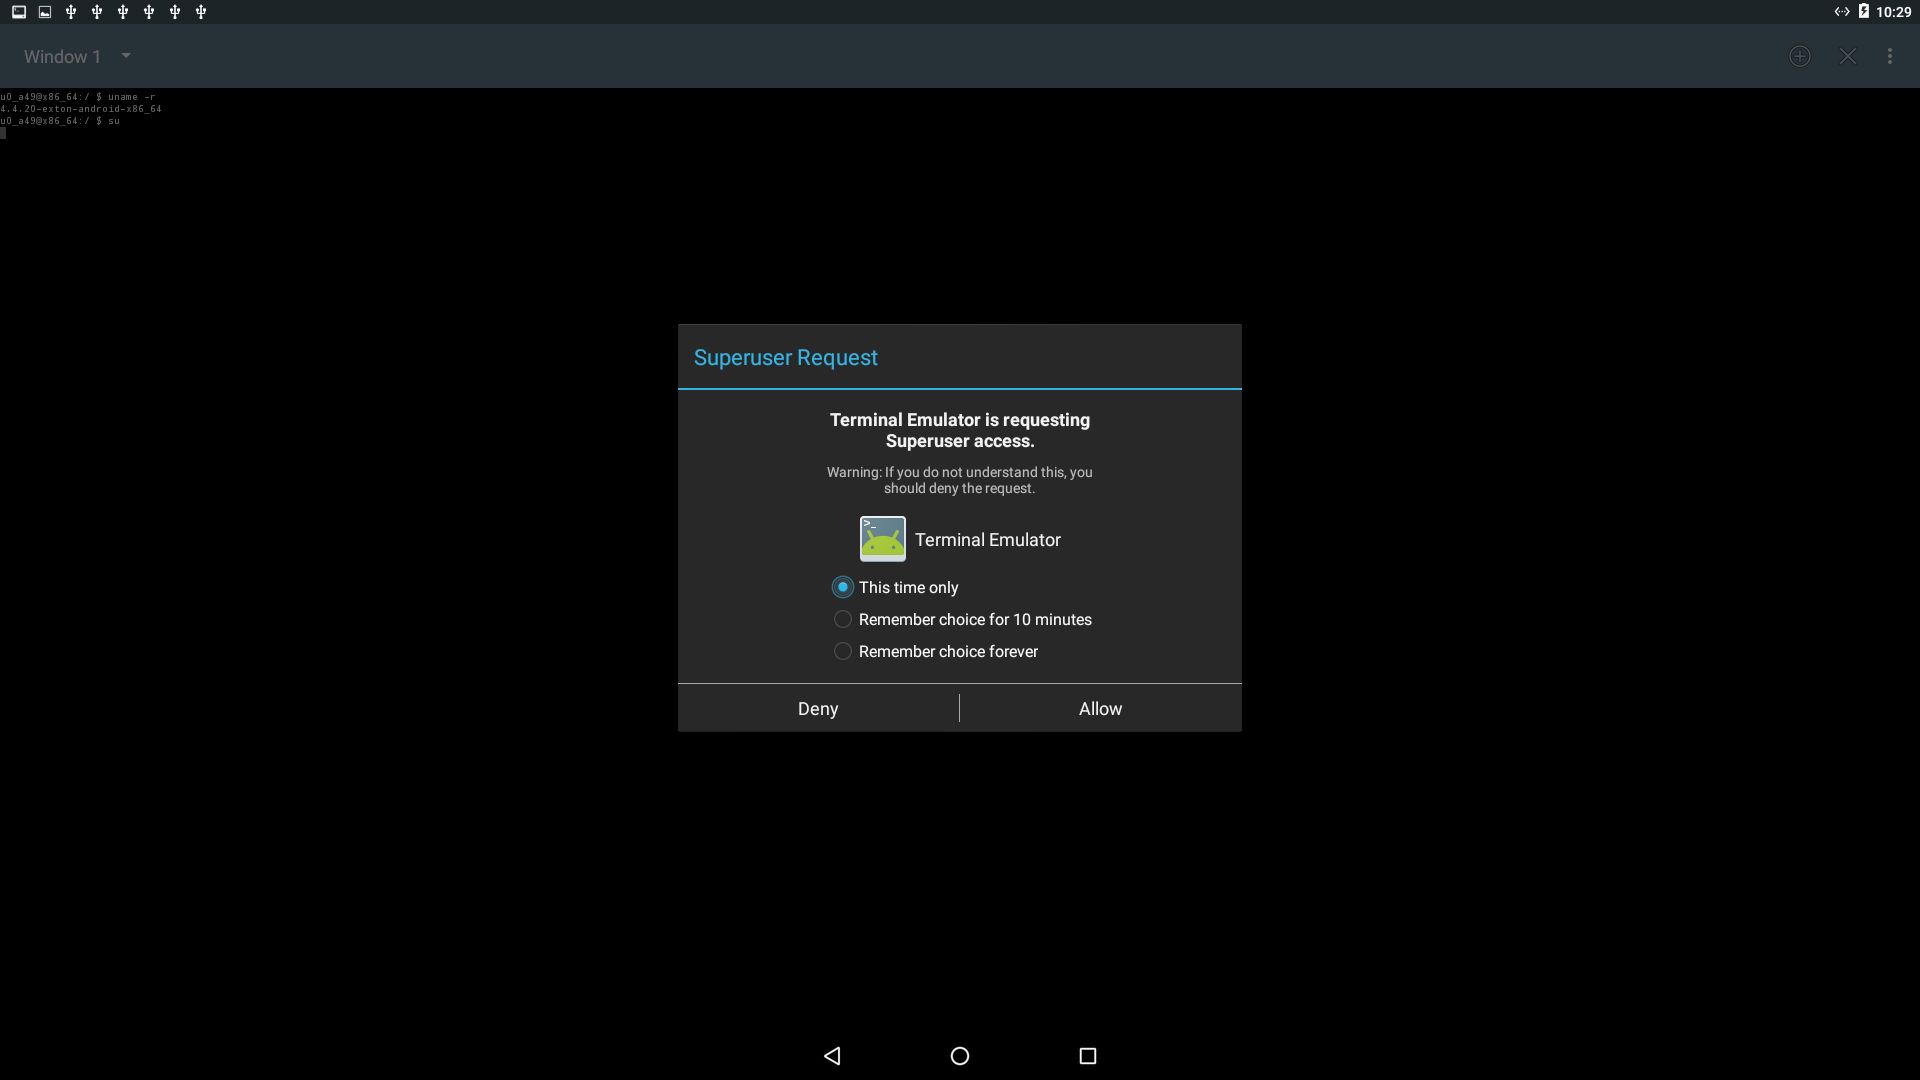
Becoming root is possible in AndEX Build 180614
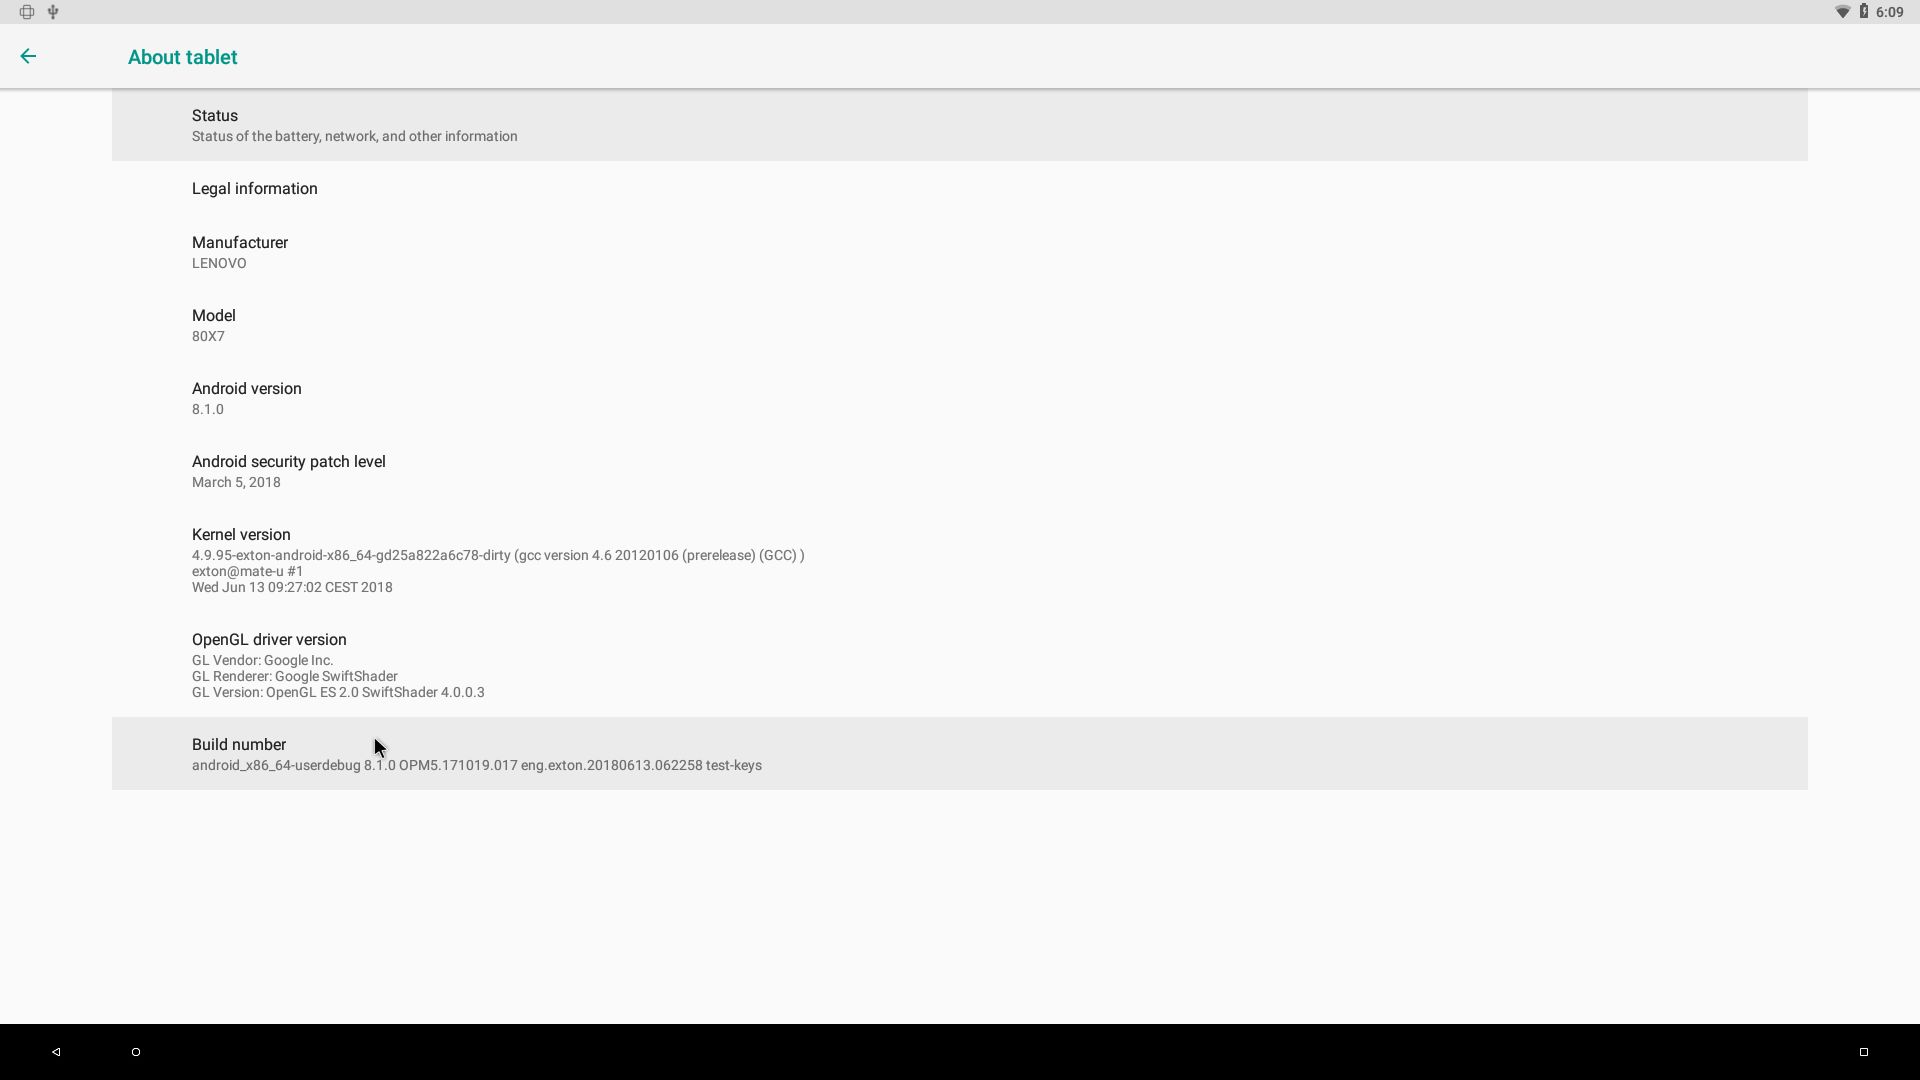
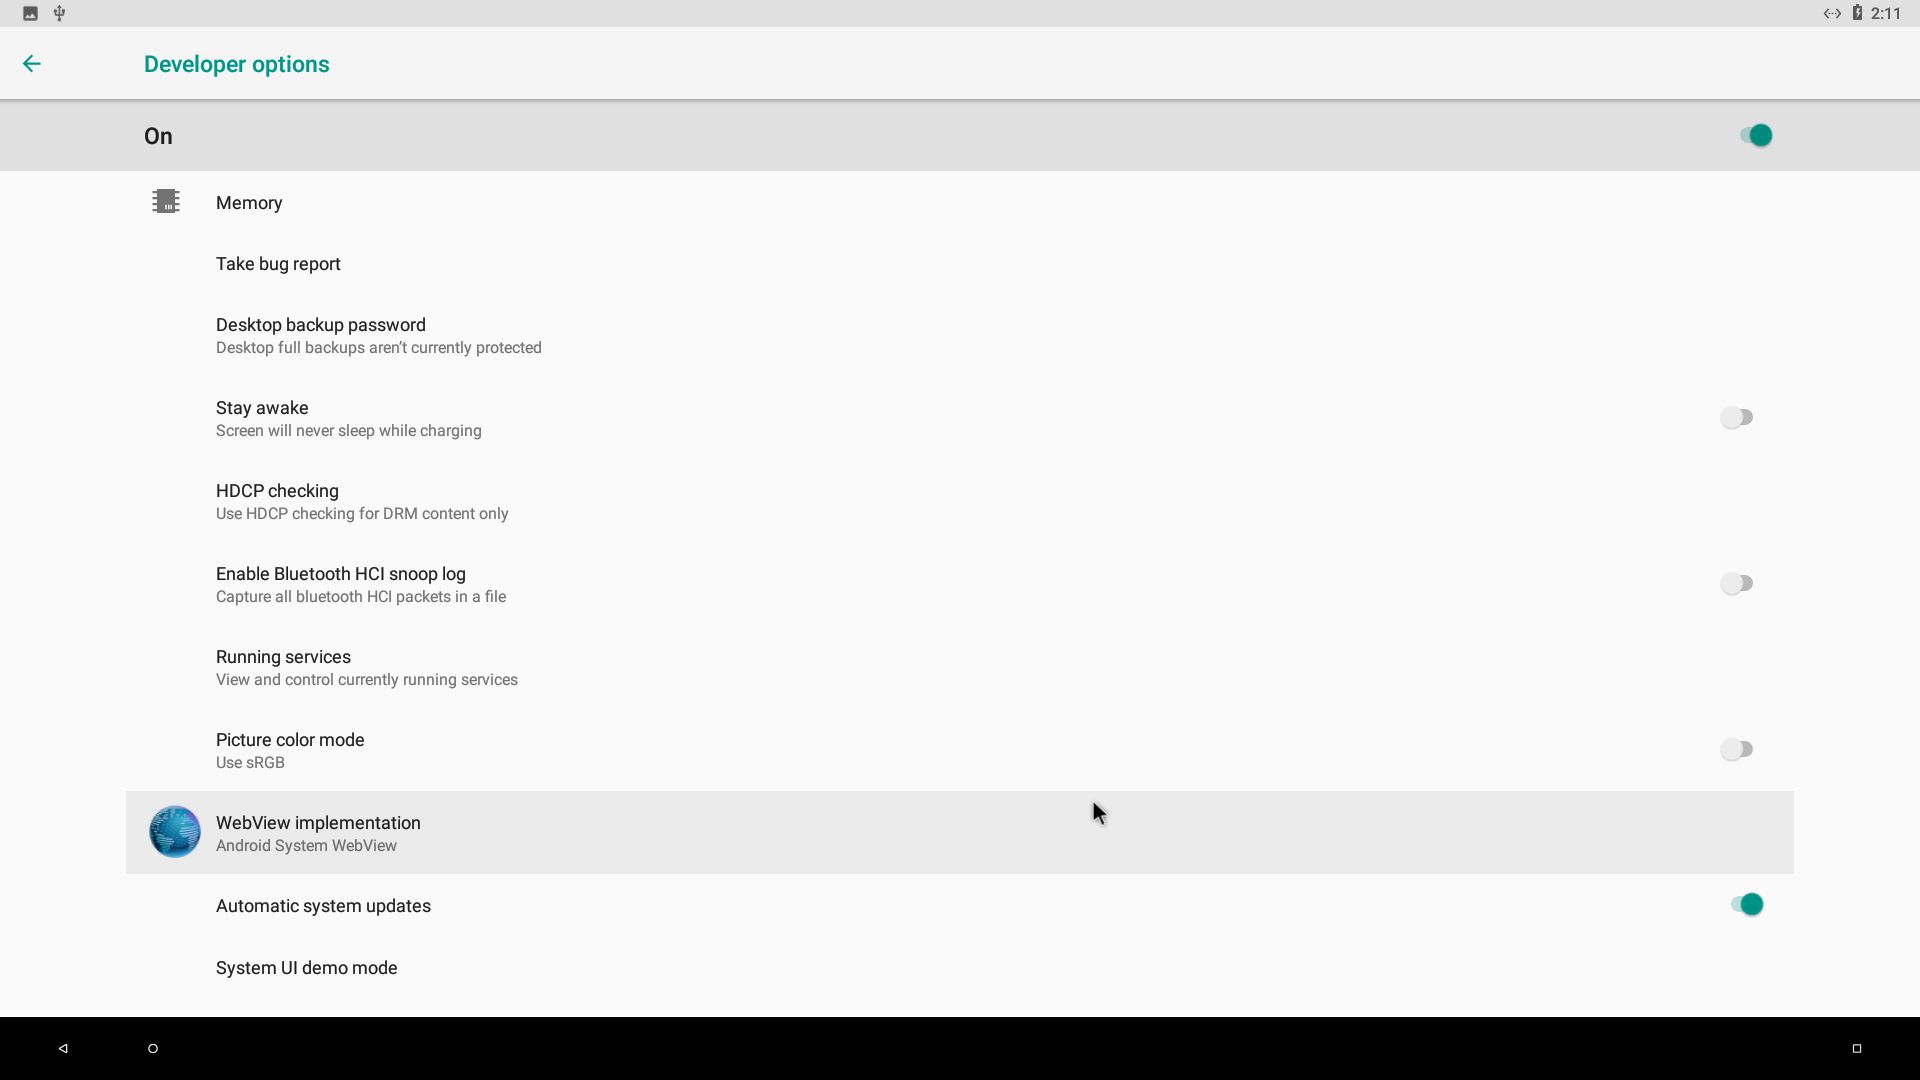
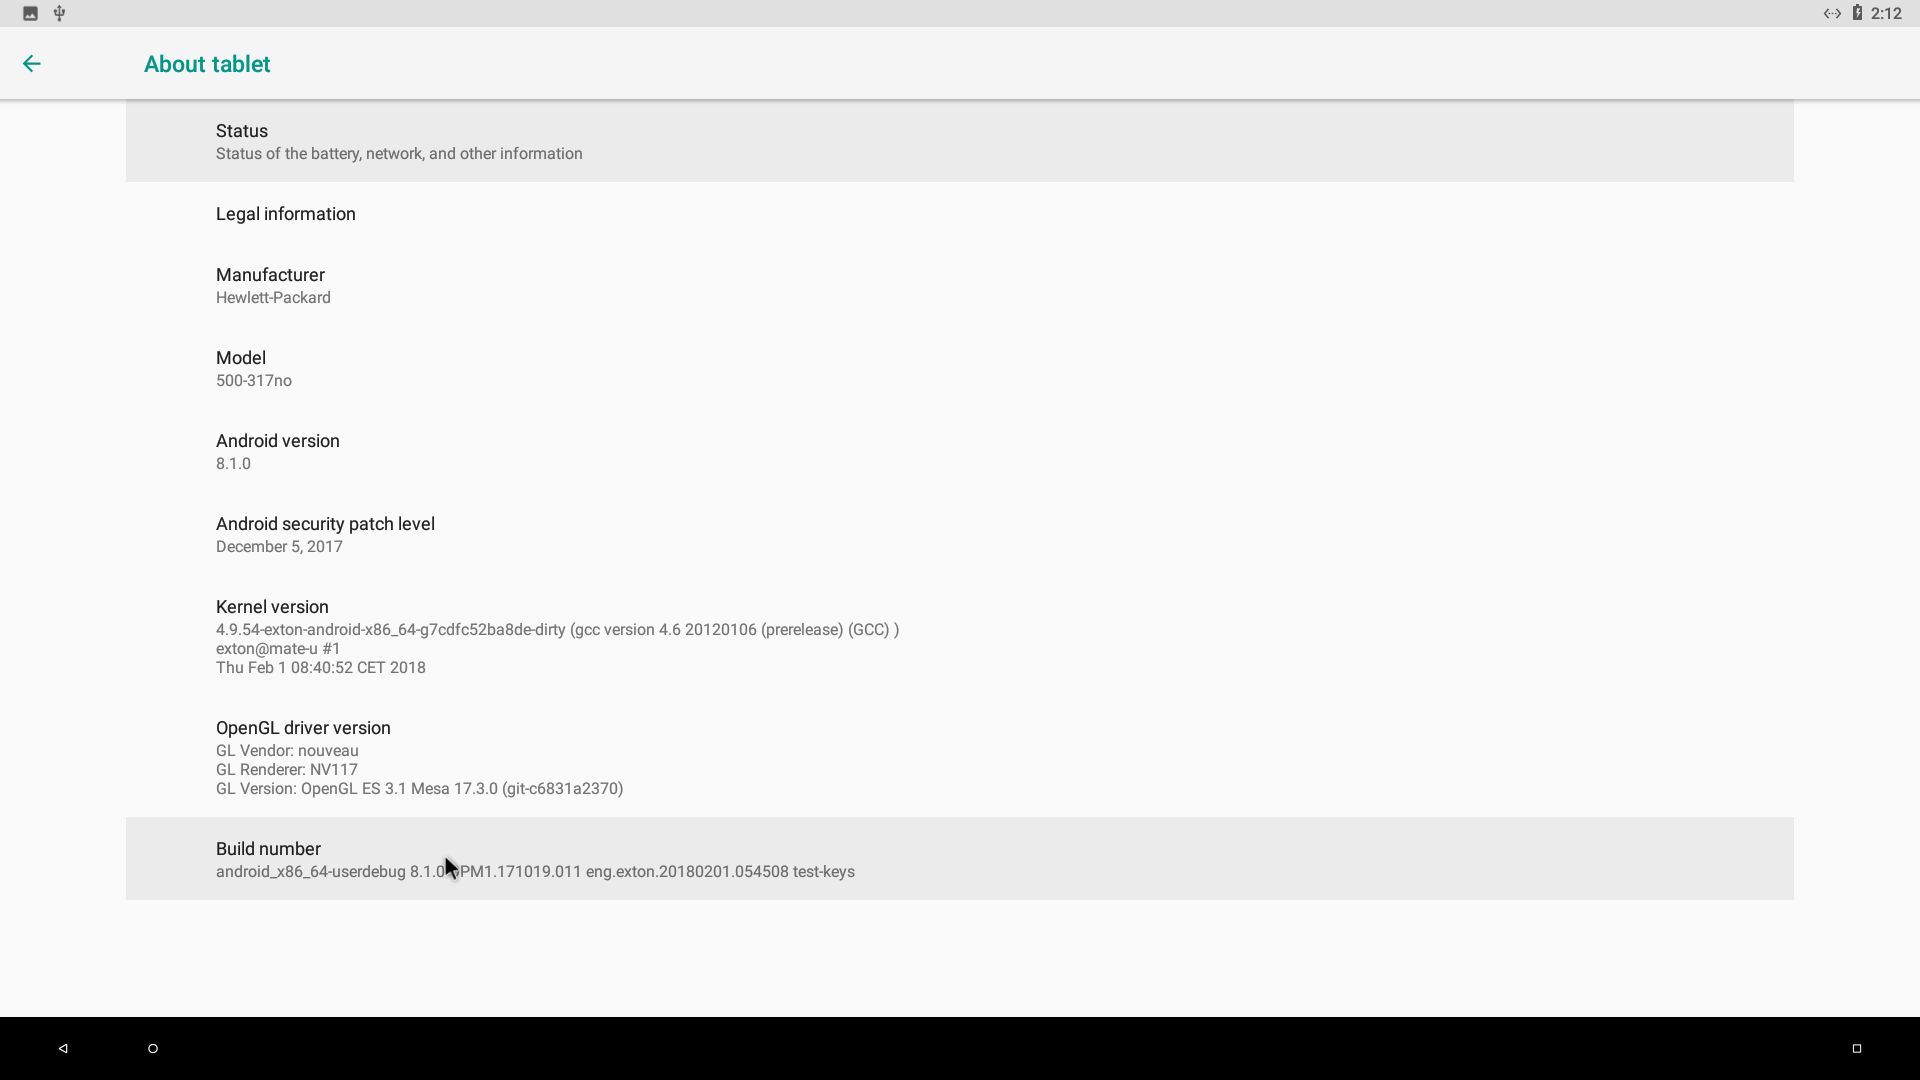
You can become root by open up a terminal and su root. The app Root Explorer is also installed. Very useful I think. You can also become “Developer” by going to Settings >> About table >> and click several times on “Build number”. Watch this screenshot. As Developer you can do/test a lot of things. Watch this screenshot. In AndEX Marshmallow Build 170923 you can also su to become root. (Another good thing about that AndEX build is that Netflix works!).
What’s the point?
Well, if you like your Android phone and all the apps you have installed on it I’m sure you will also like to run apps from your laptop. Bigger screen and better sound etc. Also: In AndEX Oreo Build 180614 almost all apps and games can be installed via Google Play Store and via Aptoide App Manager. You can even install very big games (of 1GB or so), but unfortunately almost all such games need a touchscreen. Still not convinced? Then read my article about “How useful an Androx-x86 system can be for the average computer user“.
NOTE1/WARNING1
You must use a fairly new/modern computer. Android-x86_64 Oreo won’t run (even start) on older computers. My other Android remaster KitKat 4.4.4 Build 180108 will run also on older computers.
NOTE2/WARNING2
Before you buy and download this version of AndEX Oreo you must be aware of that not all apps downloaded from Google Play Store or Aptoide App Manager can run in an Android-x86_64 system. Some very big (around 1GB) games for example won’t run. You must also be aware of that some (many) games need a touchscreen. Clash of Clans and Angry Birds work very well though.
KNOWN ISSUES
1. You can run AndEX Oreo live on many computers, but the install function doesn’t work. You’ll have to do a manual installation as described above.
2. You can’t install AndEX Oreo in VirtualBox and VMware using the install function. You can run the system live very well though. You can also do a manual installation as describe above under Manual installation of AndEX Oreo in VirtualBox. After that everything will work very well while running AndEX Oreo from your virtual hard drive.
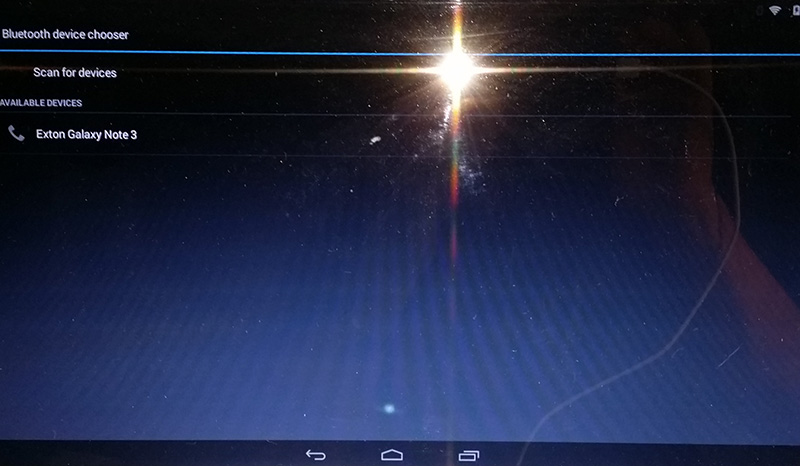
3. Bluetooth doesn’t work. (You can enable Bluetooth and see units though).
4. You can’t use Netflix. (You can install the Netflix app, but it won’t run).
And once again please note this
PREREQUISITE
The system can be installed manually to hard drive – see above. That’s sort of a FRUGAL installation used by Puppy Linux. To be able to do a frugal installation you must have at least one Linux system installed on your hard drive. You must also use Grub as bootloader. Running AndEX Oreo live: Use preferably Etcher or Rufus to create a bootable USB stick from the ISO file andex_x86_64-oreo-8.1-gapps-windows-launchers-1050mb-180614.iso. Or burn the ISO file to a DVD and run the system from it.
Screenshots
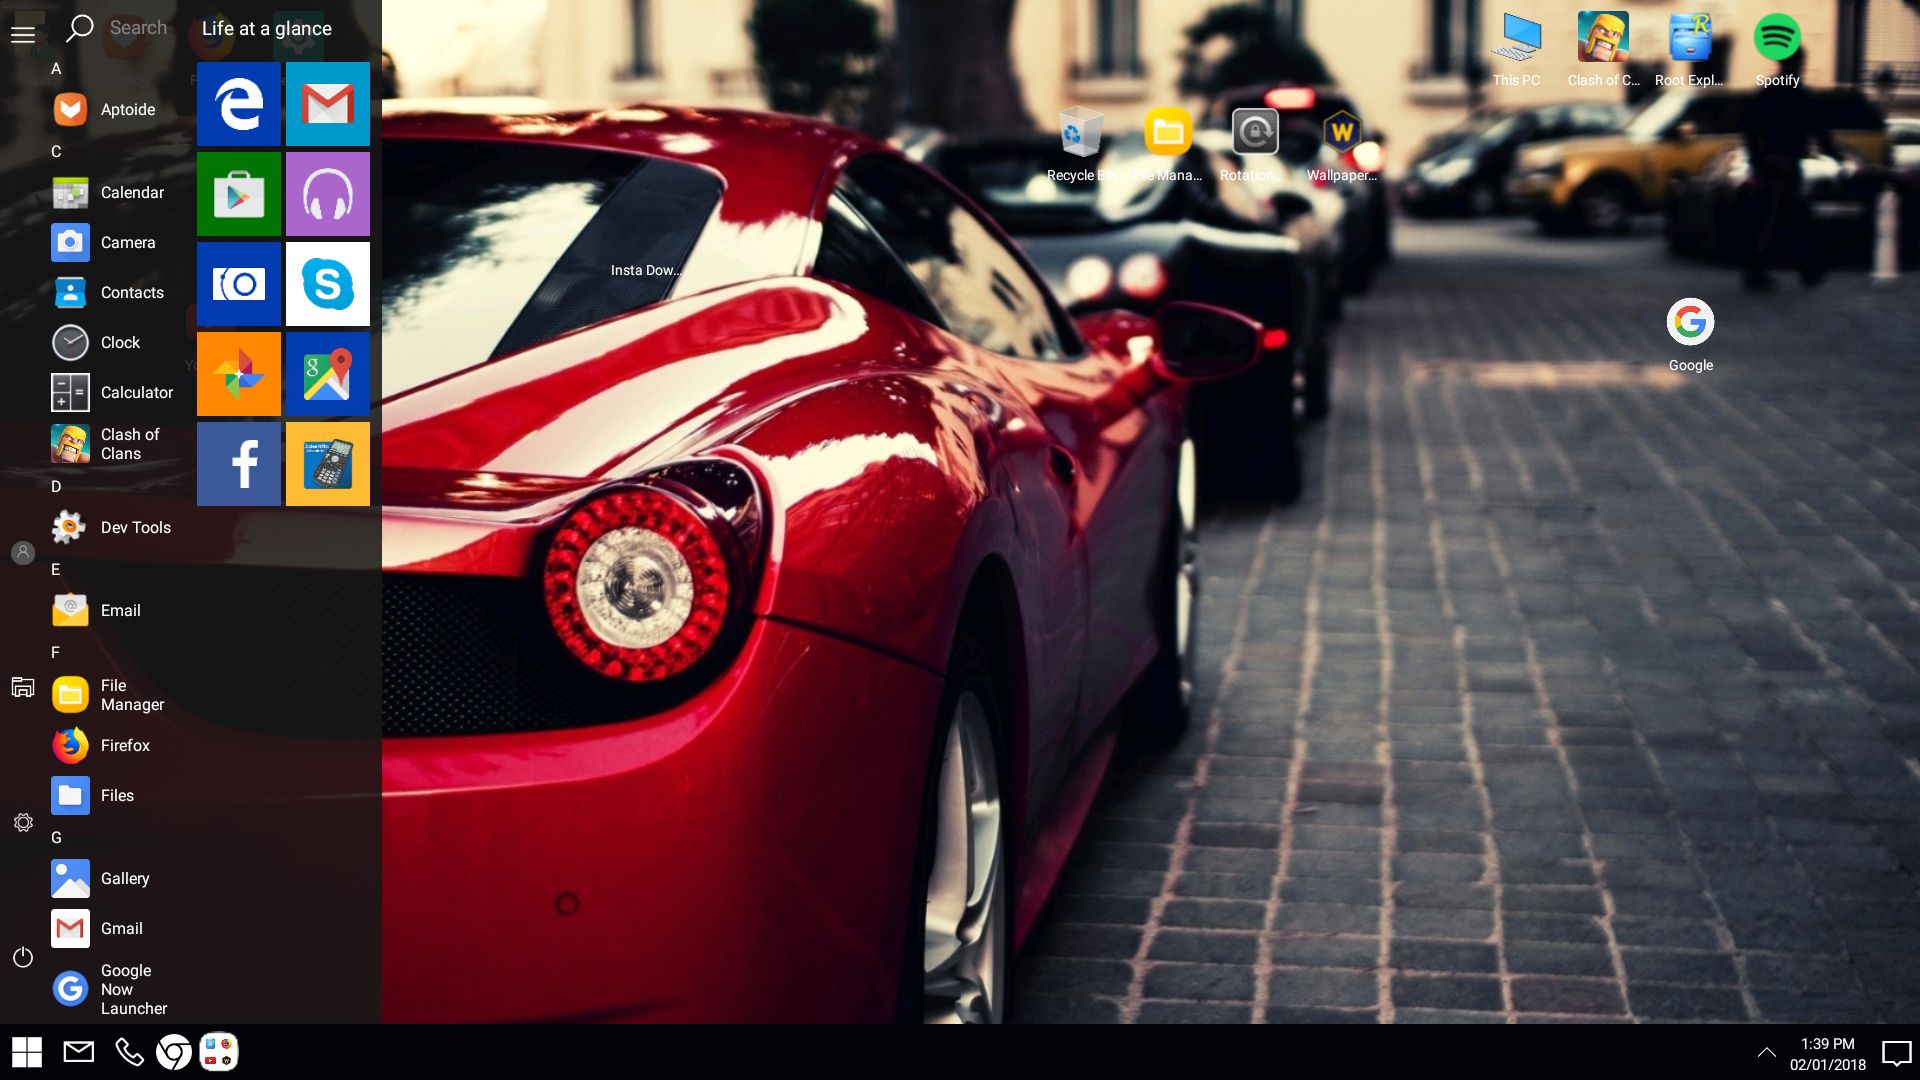
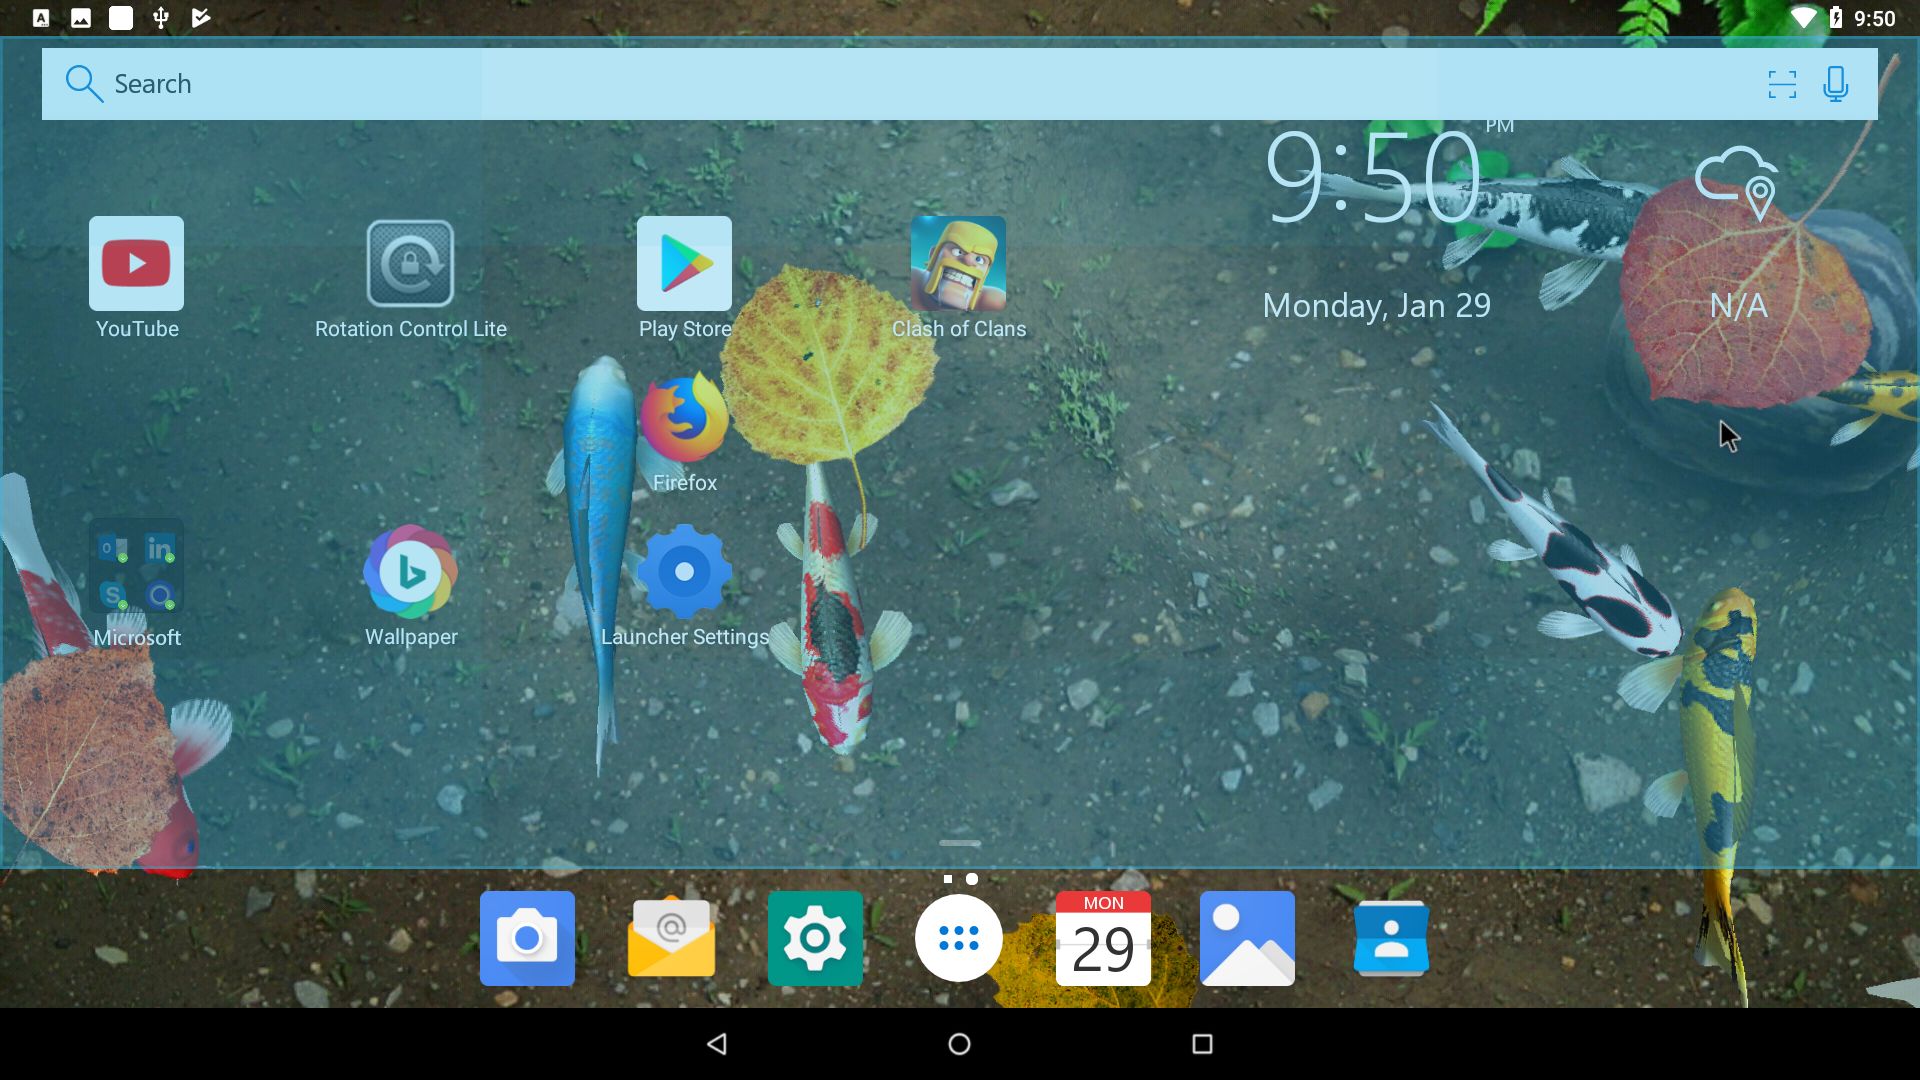
Screenshot 1 – AndEX Oreo 8.1 Desktop with Microsoft Launcher
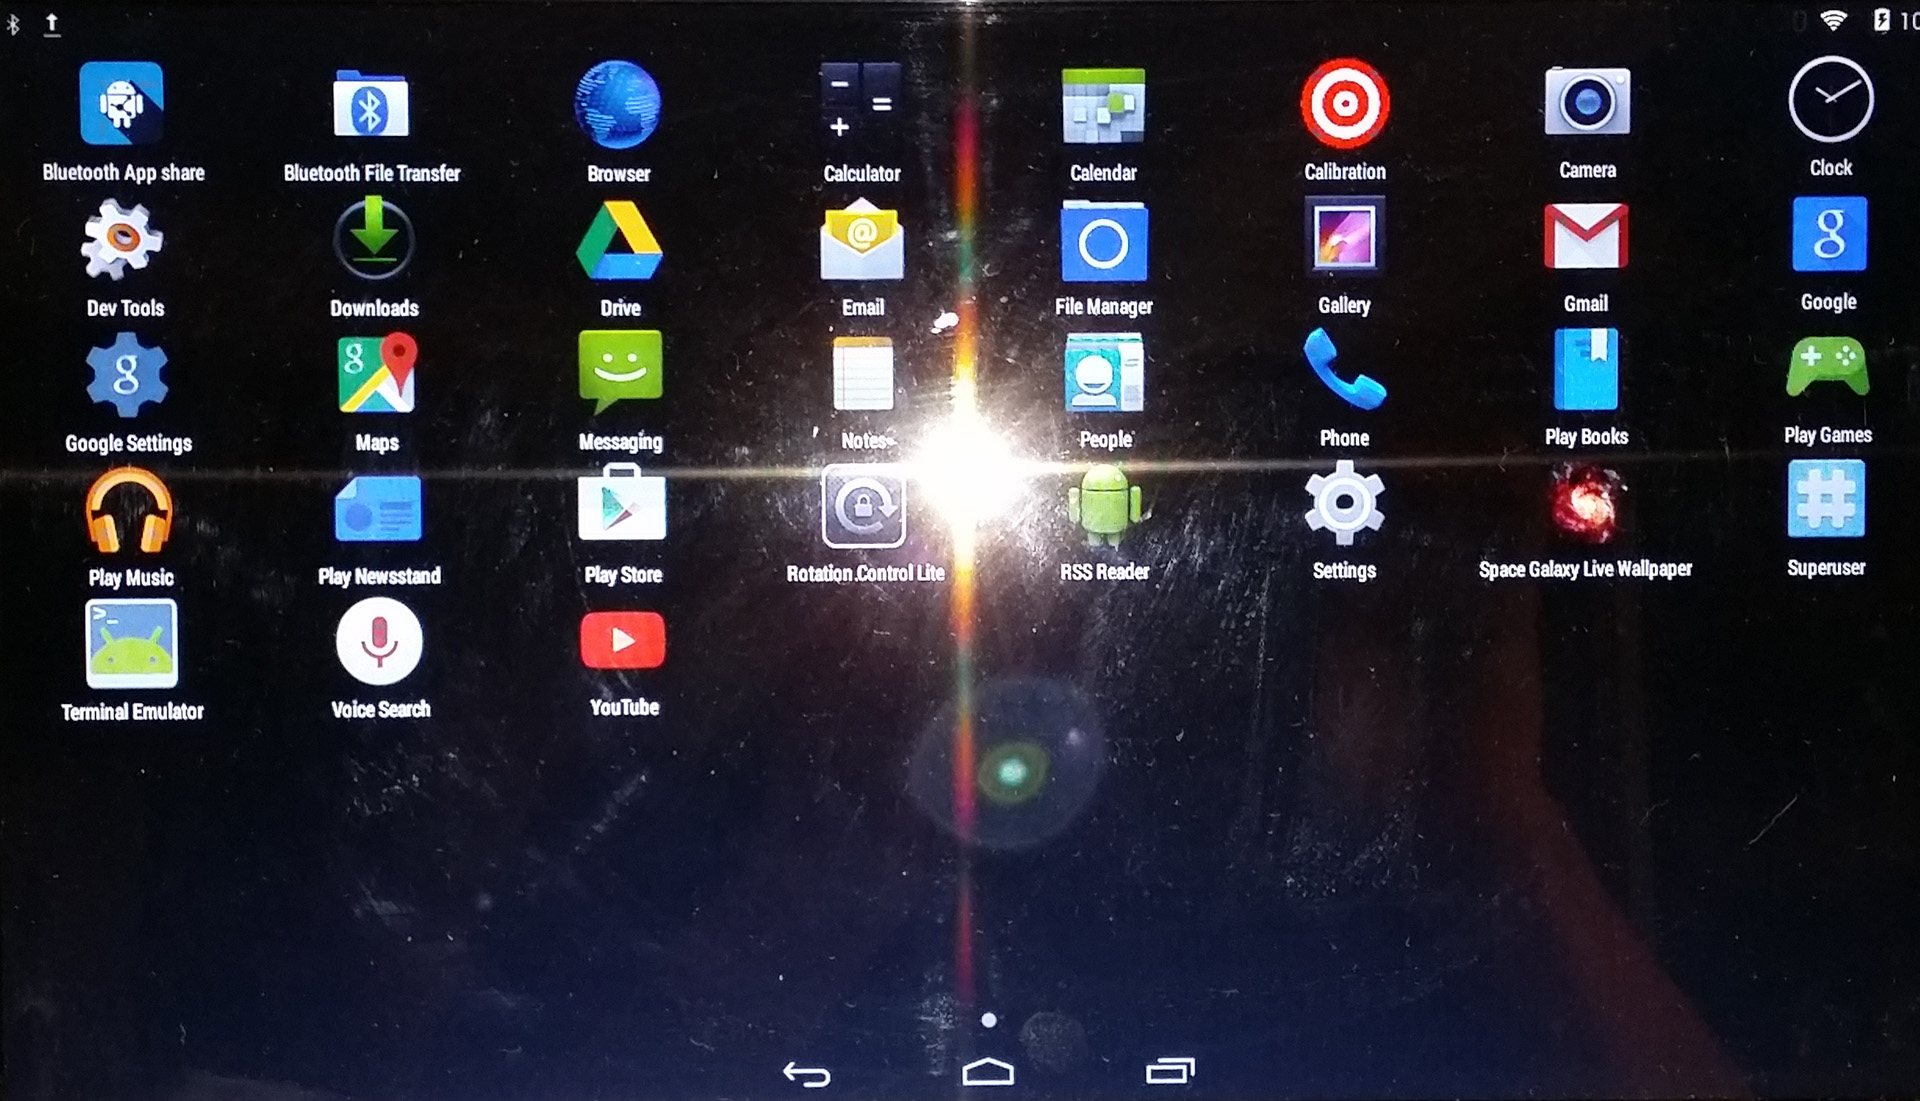
Screenshot 2 – AndEX Oreo 8.1 Desktop with Microsoft Launcher – all apps
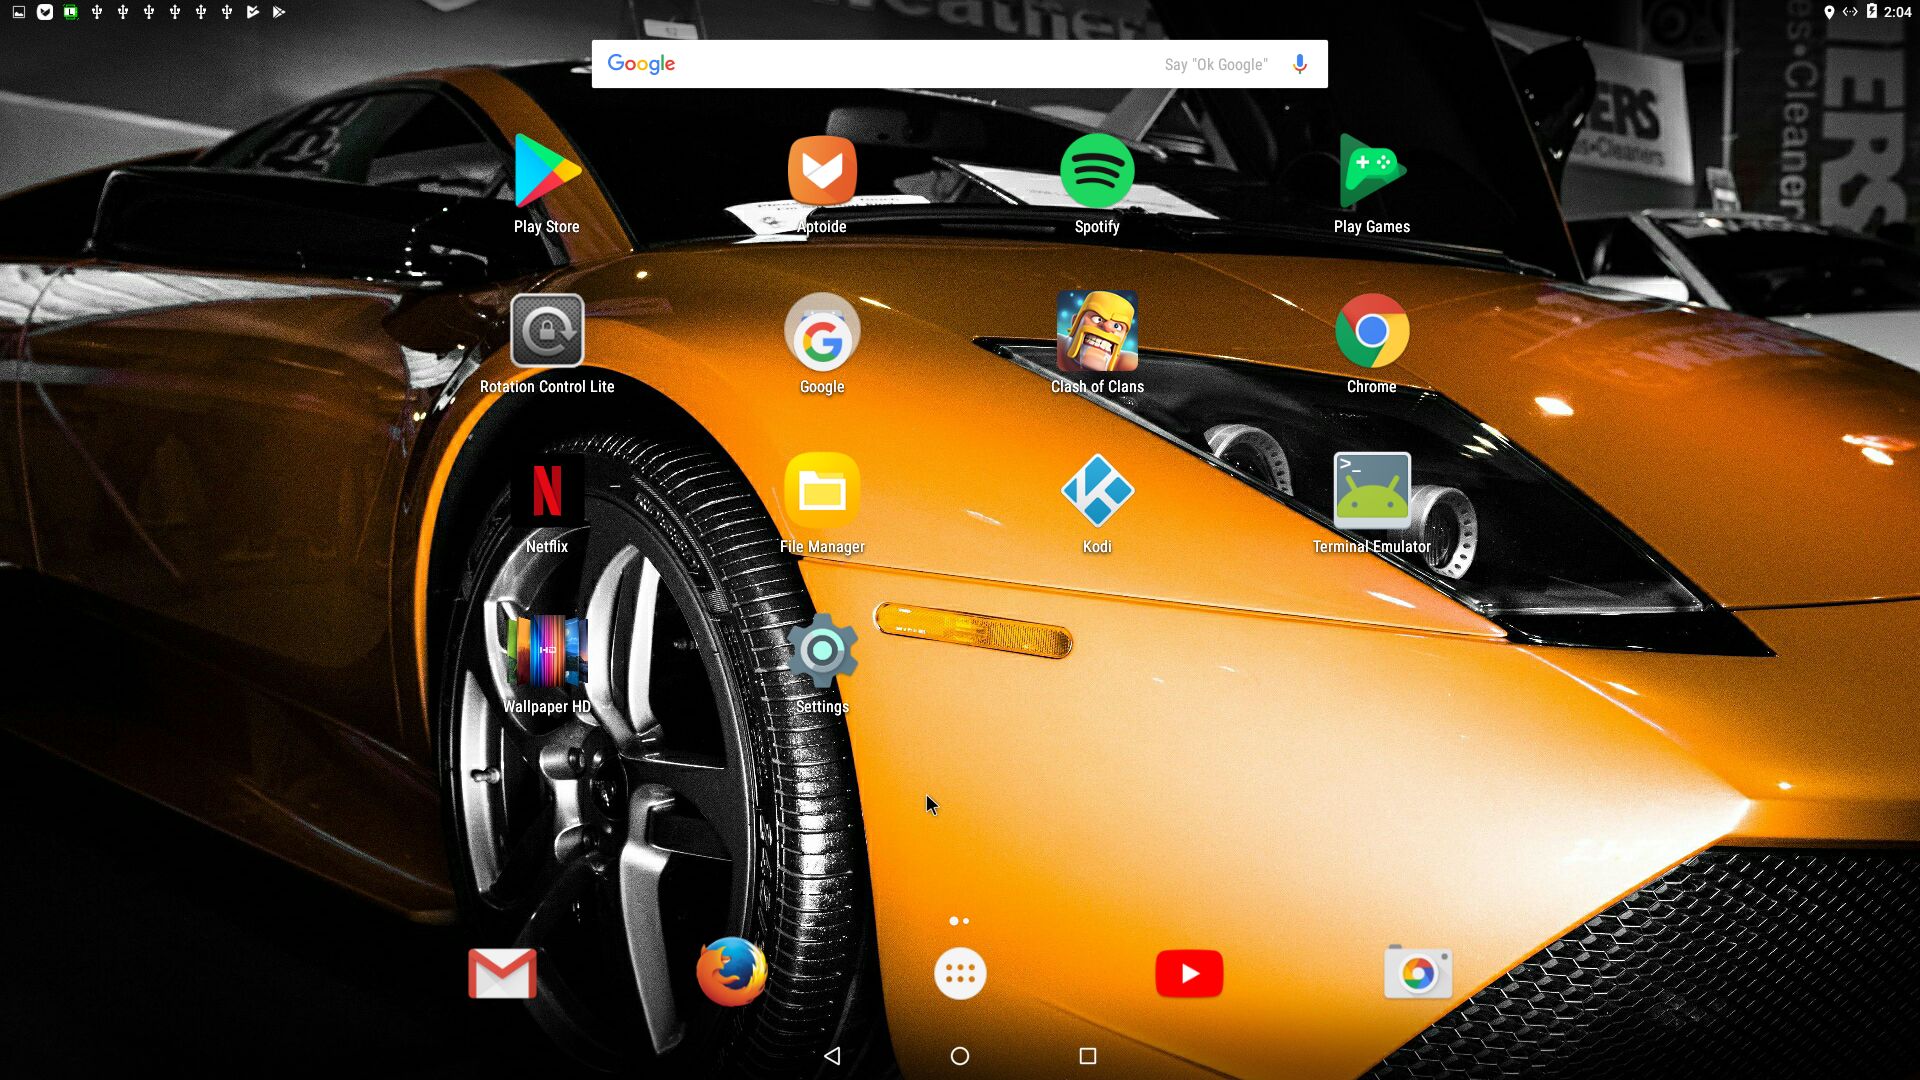
Screenshot 3 – AndEX Oreo 8.1 with Win 10 Launcher (not pre-installed)
Screenshot 4 – AndEX Oreo 8.1 running in VMware
DOWNLOAD
This version of AndEX Oreo 8.1 has been replaced by Build 180918…

